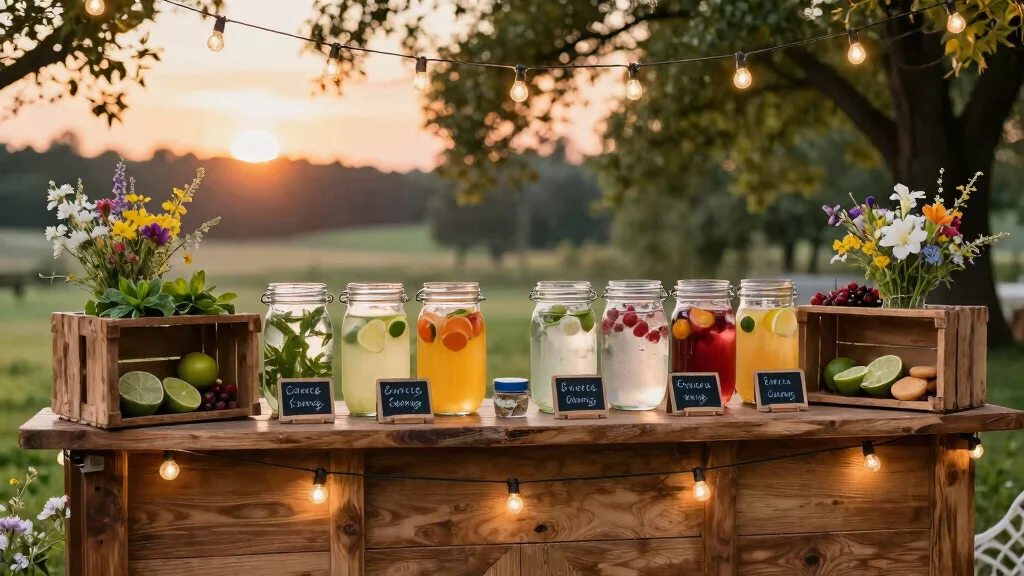

Picture your guests gathering around a stunning spread of cheeses, meats, and fruits, their phones snapping photos before they even take a bite.
A wedding charcuterie board is more than fancy snacks: it is a shareable centerpiece that reflects your style and keeps everyone mingling happily.
You will choose from intimate boards for fifty guests to lavish grazing tables for hundreds, each arranged to match your colors and theme.
But how do you build one that wows without wrecking your budget?
The answer starts with understanding exactly what goes into this edible art, and why it has become so popular at modern celebrations.
What Is a Wedding Charcuterie Board?
Why settle for ordinary appetizers when you can wow your guests with something they’ll actually remember? A wedding charcuterie board is your answer, a beautifully arranged spread of cheeses, meats, fruits, nuts, and spreads that guests can easily sample.
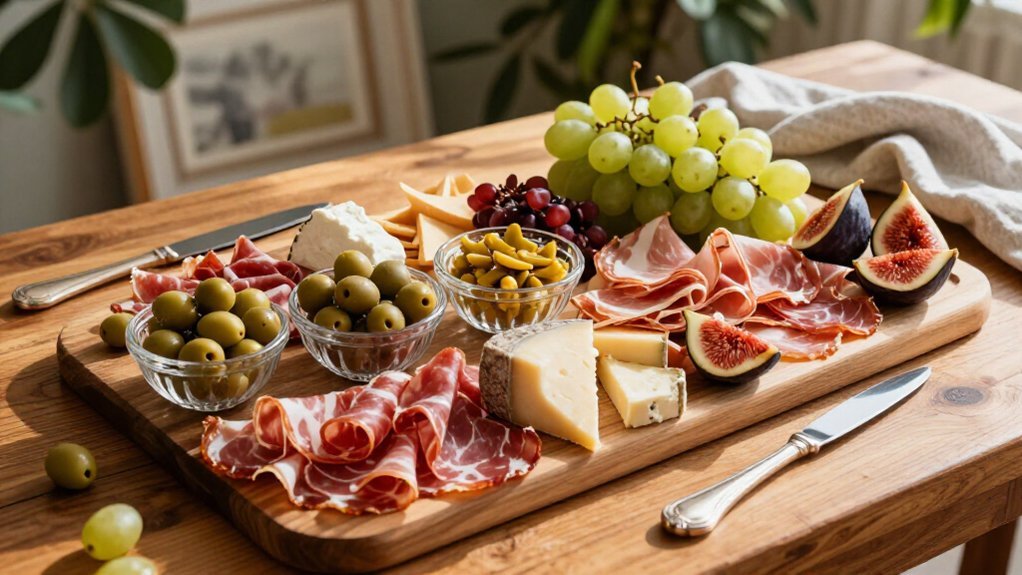
You’ll find these displays range from intimate cheese boards for small gatherings to impressive grazing tables that feed dozens at once. Picture soft Brie beside aged cheddar, prosciutto curled next to Soppressata, fresh grapes, figs, and sweet jams waiting to be discovered.
Design yours to match your wedding colors. Add custom labels or monograms for that personal touch.
Keep the visual flow natural and accessible. Your guests should move through easily, grabbing bites without confusion.
Remember these practical tips:
- Label allergens clearly so everyone stays safe
- Keep boards in cool, air-conditioned spaces
- Rotate multiple boards to maintain freshness throughout your celebration
Recommended Products

Perfect 4-Tier Sizes for Versatile Display 16.1"×7.48" Design: This 4 layer serving tray set includes four trays of different heights (approx. 2.8", 5.5", 8.3"– tailored to your 16.3"L×7.7"W platform). The well-proportioned layers create a stunning cascading effect, ideal for cupcakes, pastries, cookies, finger foods, cheese, fruits, appetizers, and more. Whether you're hosting a wedding, birthday, holiday, or daily brunch, this tiered dessert stand maximizes table space while keeping every treat visible and accessible

Freshness with Style: CAWIU’s bamboo charcuterie board comes with a clear lid and handle, keeping your cheeses, meats, and fruits fresh while showcasing them beautifully. Whether indoors or outdoors, this lid adds a layer of elegance and hygiene no other board offers.

Value Pack Set of 48: Our charcuterie boards accessories include 4 cheese knives, 4 mini charcuterie tongs, 4 spoons, 4 forks, 4 knives with wooden handle, 4 mini dipping bowls, 4 honey dippers, 20 toothpick flags. It is enough to meet your needs
What Does a Wedding Charcuterie Board Cost?
You’ve got the vision for your wedding charcuterie board, now let’s talk numbers. For your wedding reception, professional charcuterie boards typically run three to four times more than DIY options. Expect to pay $340 for a 2-foot spread, $470 for 3 feet, or $670 for 4 feet. Need something grander? A 6-foot board costs $995, scaling up to $2,660 for 16 feet. These prices reflect regular and sale rates.
Your final cost depends on board size, ingredients, cheese selections, meat varieties, and fruit additions. Want extras? Greenery add-ons and table runner spreads enhance your display, but they’re priced separately from your core board.
Plan your budget around these tiers, and you’ll create a stunning centerpiece without surprises.
Recommended Products

All-in-one Party Serving Set: this complete clear plastic party set includes 4pcs 16" x 12" serving trays, 4 pcs 150oz clear bowls, 8 pcs 6.3'' tongs, 8 pcs 9.8'' spoons, 8 pcs mini chalkboard labels, and 1 marker pen; It helps you organize buffet tables and display food categories easily, without the need for last-minute purchases of separate utensils

【All-in-One Wooden Tiered Riser Display Stands+Event-Ready】Cologne organizer for men on vanities, display stands cabinets for collectibles figures in living rooms, display succulents in bedrooms, or 4 tier wood spice rack organizer in kitchens. Switch from daily use (grazing table supplies) to events – create social-media-ready wooden dessert table display set at parties, buffet risers and stands, or boost candle display for vendors booth must haves

【High-Quality Material】Small serving tongs are made of food grade high quality stainless steel, sturdy and not easy to deform. Cooking tongs with superior quality which is safe, rustproof, practical and durable, dishwasher safe for easy to clean.
Should You DIY or Hire a Caterer?
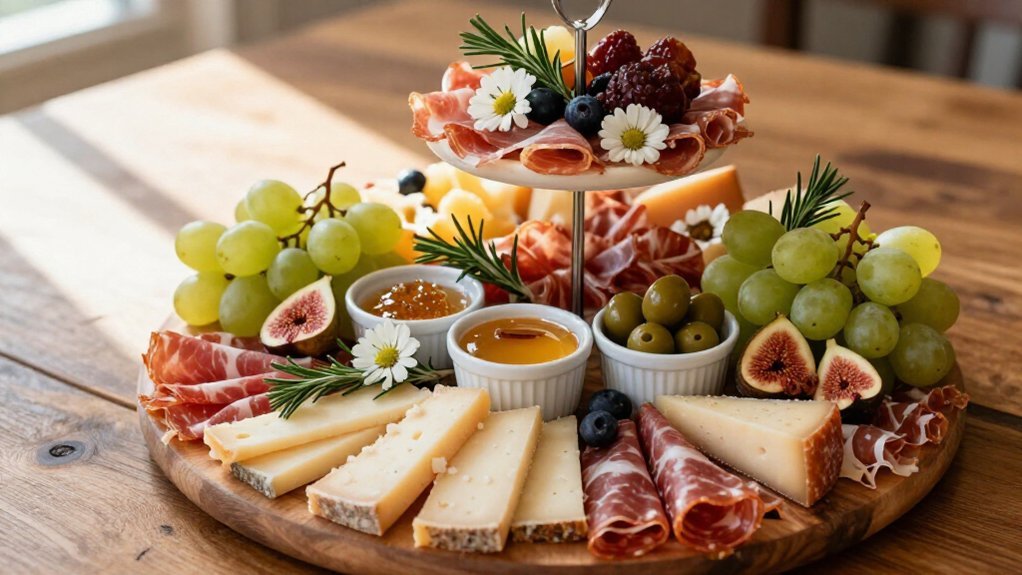
How do you decide between rolling up your sleeves or leaving it to the pros? You’ll save serious cash with a DIY grazing board, often spending three to four times less than you’d pay caterers. But you’ll need to handle seasonal ingredients, presentation, and food safety yourself, including keeping things cold and labeling allergens clearly.
Professional caterers deliver consistent wow factor, broader variety, and staff who refresh your spread all night. They’ll also match your wedding colors and themes, sometimes offering exclusive grazing board options within larger packages.
Consider this hybrid middle ground:
- Build your own centerpiece boards to express your personality
- Let caterers handle bulk items or specialty pieces you can’t easily source
- Enjoy balanced costs, customization, and smooth guest flow without the full stress
Recommended Products

GIFT READY: This bamboo charcuterie board gift set makes a thoughtful choice for Mothers Day, weddings, housewarming, birthdays, bridal showers, anniversaries, newlyweds, couples, women, men, hosts, and entertainers.

COVERED FOR EASY TRANSPORT – The clear lid keeps your arrangement visible while helping shield cheese, meats, fruit, and snacks from dust and light contact. The integrated handle makes it easier to carry from the kitchen to the table, patio, picnic, potluck, or party.

GREAT VALUE PACKAGE: You will receive 400 3.5-inch bamboo appetizer forks, boasting not only a generous quantity but also an elegant design, allowing you to stylishly host large celebratory events that will surely surprise your friends!
How to Choose Cheeses, Meats, and Accompaniments
Where do you even start with building a wedding charcuterie board that wows your guests? You’ll want to balance flavors, textures, and visual appeal for the ultimate grazing experience.
Start with three cheese types: soft cheeses like Brie or goat, hard cheeses such as aged Gouda or sharp cheddar, and bold blues like Roquefort. Mix cow, goat, and sheep milk varieties for extra depth.
Next, add cured meats. Fold or roll Soppressata, Chorizo, prosciutto, and Jamón serrano so guests can grab easily.
Don’t forget accompaniments. Pile on grapes, figs, and strawberries for sweetness. Add Marcona almonds, candied pecans, or pistachios for crunch. Spread fig, apricot, or cherry preserves nearby, and surround everything with breads and crackers.
Use small labels to identify items. Your charcuterie becomes both beautiful and approachable. Arrange varied shapes with strategic spacing so guests mingle and taste freely.
Recommended Products

Sufficient Quantity: the package includes 30 pieces of cheese markers and 2 pieces of erasable white pens, and the enough quantity and a nice combination can meet your use and replacement needs for a home party

Premium Materail: These cheese labels are made of quality paper cardstock and bamboo, with smooth surfaces, sturdy and serviceable, double side blank label bamboo pick which can stick directly into cheese, meats or other appetizers, make them look more refined.

Package Includes: you will get 50 pieces chalkboard cupcake toppers totally, enough to decorate your party into an unforgettable and enjoyable one
Keep Your Board Fresh Through Every Season
Seasonal ingredients and smart planning keep your charcuterie board fresh from first bite to last dance.
Ever wondered why some wedding charcuterie boards taste just as good during the last dance as they did at cocktail hour? You achieve this through smart planning and seasonal freshness.
Start by choosing fruits and herbs at their peak. In spring, you’ll sprinkle edible flowers across creamy cheeses. Come summer, you’ll pile on berries and citrus. Fall and winter call for dried fruits, nuts, and heartier meats.
Temperature control saves your board from disaster. Skip cut apples or avocado; they’ll brown fast without cooling. For outdoor receptions, you’ll rotate several smaller boards instead of one giant spread.
Here’s your freshness formula:
- Refresh high-turnover items like crackers and popular cheeses every hour.
- Keep back-up boards chilled until you’re ready to swap.
- Place quick-to-spoil items nearest cooling sources.
Your guests will notice the difference.
Recommended Products

Size and Quantity: this pack contains 6 pieces, chilled serving tray diameter is 11.8 inches and height is about 2.36 inches, offering ample space for a diverse spread of appetizers, meats, and cheeses

【Turn Everyday Moments into Beautiful Gatherings】 Bring people together effortlessly with a 3-tier serving tray designed for sharing and connection. Whether it’s a casual dinner with family or a weekend get-together with friends, it helps you create a warm and inviting table that feels thoughtfully prepared.

ORGANIZED & BEAUTIFUL - Combines a charcuterie board and snack box into one, featuring 8 compartments to keep your snacks tidy and visually appealing, perfect for elegant picnics; Black Handles; PRODUCT SIZE: 14.5"L x 11.5"W x 2.8"H
Wedding Charcuterie Board Ideas for Every Theme
You’ll want to match your charcuterie board to your wedding’s vibe, so let’s look at three crowd-pleasing styles. For a rustic farmhouse feel, you’re piling aged cheddar, thick-cut salami, and fresh honeycomb onto weathered wooden slabs. If elegance is your goal, you’re keeping things clean with white marble boards, soft cheeses, and single sprigs of rosemary for a minimalist look.
And when you want bold color and flavor, you’re building a Mediterranean spread with marinated olives, dried apricots, and bright red pepper hummus that guests can’t stop snapping photos of.
Recommended Products


Every wood platter is hand-finished by artisans, sourced from the highest quality 100% natural acacia wood. Each unique cheese platter is stylish and distinctive due to its unique wood grain pattern.

Party Like a Pro - Dazzle your guests with Smirly's Charcuterie Set. Our versatile serving board is perfect for displaying a variety of treats like meats, cheeses, crackers, veggies, fruits, and more, making entertaining both fun and easy.
Rustic Farmhouse Boards
Because you’re drawn to the warmth of weathered wood and the charm of simple, honest gatherings, a rustic farmhouse charcuterie board will feel like home on your wedding day. You’ll welcome natural textures like burlap and weathered wood while building a grazing table that invites guests to linger and connect.
Rustic farmhouse boards shine when you prioritize these elements:
- Farmstead cheeses and cured meats paired with seasonal fruits for abundant, family-style spreads
- Asymmetrical, organic layouts using wooden crates and varying heights for visual interest
- Earthy color palettes of creams, browns, and deep reds with handwritten chalkboard labels
Add small-batch jams, honey jars, and edible flowers for seasonal charm. Your guests will love the cozy, welcoming atmosphere you’ve created.
Elegant Minimalist Displays
Maybe the rustic farmhouse look feels too busy for your taste. You’ll love simple, uncluttered displays instead. These boards use clean lines and simple spacing to create calm, uncluttered beauty.
Start with one slim board and plenty of empty space. You’ll arrange mild goat cheese, neatly folded cured meats, and a few crisp crackers with care. Add fresh fruit slices for a strategic color pop. Stick to whites, creams, greens, and natural wood tones for harmony. Build height with tall grasses, not clutter. Finish with simple labels, maybe even a monogram.
This style adapts to modern, coastal, or rustic chic themes beautifully. You don’t need much to impress, just quality ingredients placed with intention. Your guests will notice the quiet confidence of your display.
Colorful Mediterranean Spreads
A Mediterranean spread brings the warmth of sun-drenched coastlines right to your celebration. You’ll love how these charcuterie boards burst with color and flavor, creating an instant vacation vibe for your guests.
To build your own Mediterranean spreads, focus on these vibrant elements:
- Creamy feta, fresh mozzarella, and golden manchego paired with hummus and tzatziki for rich, tangy bites
- Jewel-toned olives, roasted red peppers, purple onions, and cherry tomatoes that pop against your board
- Thin prosciutto, grape leaves, and fresh herbs like purple basil or mint to complete the look
Add lemon wedges, pomegranate seeds, or edible flowers for finishing touches. Your guests will snap photos before they even take a bite.