
You’re planning a wedding candy bar, and you want it to look amazing without breaking your budget. You’ll need five key supplies to pull this off: smart budgeting, a matching color theme, varied candy textures, containers in different heights, and labels with scoops and bags. Get these right, and your guests will talk about your sweet table for years.
But here’s the catch: most couples skip one critical step that turns a pretty display into a total mess. Want to know what it is?
Plan Your Wedding Candy Bar Budget and Quantity
Where do you even begin with a wedding candy bar? You start with your candy bar budget and quantity planning, so you don’t run short or overspend.
First, figure your candy per guest. You’ll want about half a pound (8 ounces) for each person. For a 100-guest wedding, that’s 50 pounds total. Set aside roughly $1 per guest, though your wedding budget might shift with dietary needs or bulk deals.
Plan for about half a pound of candy per guest—roughly $1 each—and adjust for bulk savings or special dietary needs.
Next, pick your number of candy types. Five to ten varieties keeps things interesting without overwhelming guests.
Don’t forget serving containers, bags, and scoops in your costs. You’ll also want take-home options so guests pack favorites home.
Finally, plan for leftovers. Wrap bulk candy tight; it’ll last months. You’ve got this.
Recommended Products

Generous Size and Capacity: This pack includes 4 plastic candy jars with lids, 4 pcs spoons . The size of the cookie jars with lids airtight is measuring approximately 5.3 x 6.7 inches/ 13.5 x 16.89 cm x 17 cm. These plastic jars with lids have a large size, making it easy to clean and can provide ample space to store and display a wide variety of cookies and candies

Package Contents: this package contains 4 plastic candy jars with lids 100 clear mini plastic bowls and 2 spoons, which are very suitable for people who often bake or entertain guests; The package can effectively hold a variety of candies, and the quantity is sufficient to meet your various needs; Note: this product is made of plastic; Please confirm the material before purchase
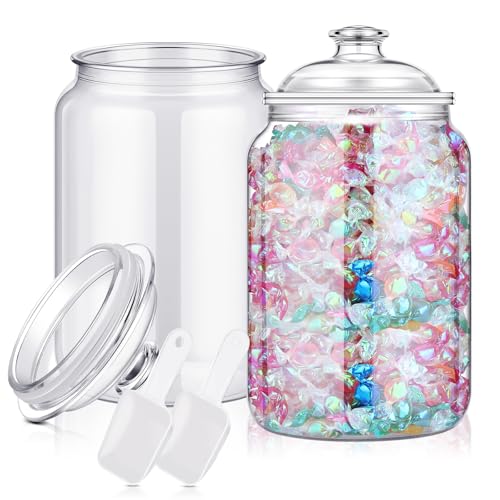
【Super Large Capacity】You will get 2 plastic candy jars with lids, and 2 pcs plastic spoons. This large candy dispenser has a capacity of 1 gallon, and can provide ample space to store and display a wide variety of cookies and candies
Choose a Color Theme That Matches Your Wedding
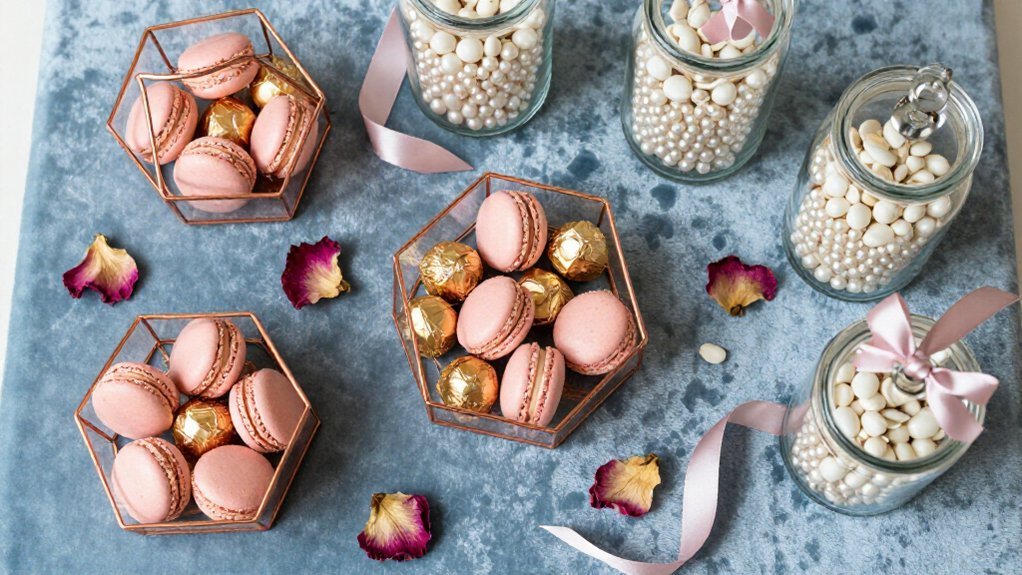
Once you’ve nailed down your budget and quantity, it’s time to make your candy bar truly yours by choosing a color theme that matches your wedding.
Start by looking at your wedding colors. Pull from your color palette to ensure your candy bar feels like part of the cohesive decor, not an afterthought. You’ll want to pick candies in varied shades within that theme; think blues and whites for a blue wedding, to add depth without clashing.
Don’t stop at the sweets themselves. Choose jars, ribbons, and labels that complement your color theme for true visual harmony. Softer pastels read refined, while bold hues feel festive, so consider what mood you’re setting.
Finally, match your signage and take-home bags to your themed display. This brings everything together and gives guests a polished, memorable experience.
Recommended Products

Multipurpose. The multi-purpose scoops are good for scooping and holding vegetables, fruit, and meat and so on. The tongs are ideal for sugar cube, ice cube, marshmallows, lemon slice, jelly, cookie, salads, sandwich, cake, bread.
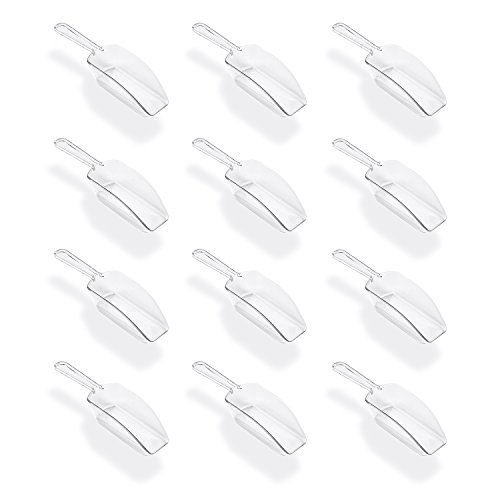
Bring to life all those candy buffet ideas for that upcoming fundraiser and create an exciting and attractive dessert presentation with these versatile kitchen scoops. Have them ready in your birthday party supplies and basic party decoration options to create a festive event for your guests.

GREAT VALUE: Ample 36 - bowl pack ensures convenience, perfect for gatherings or daily use. Never run out of party bowls, candy scoops and plastic tongs stay prepared to serve with ease. Enjoy flexibility and style with this candy table display sets.
Pick Candies With Different Flavors and Textures
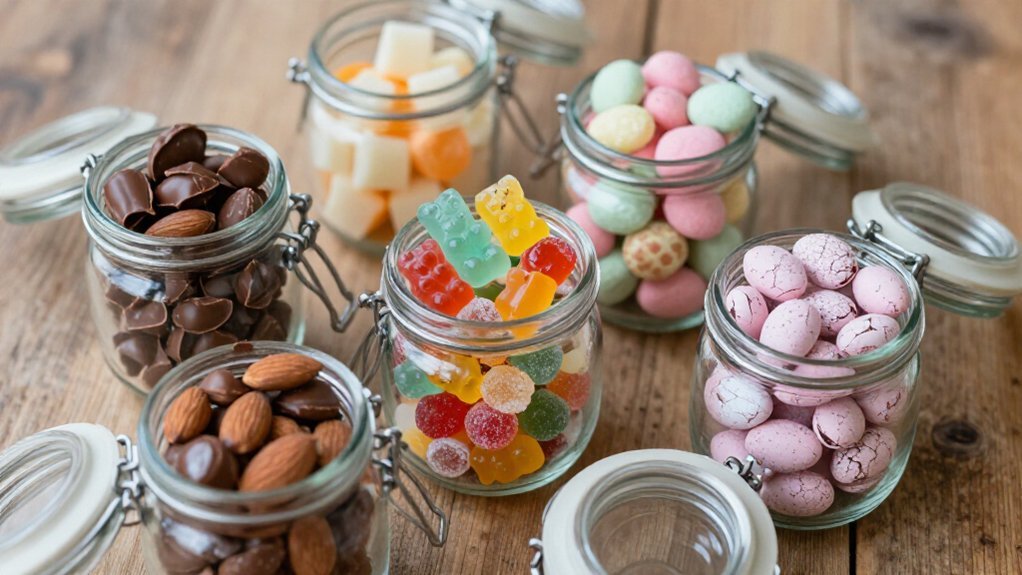
With your colors locked in, you’re ready to fill those jars with treats that’ll keep guests coming back for more. You want variety on your candy bar, so mix flavors and textures that surprise the palate.
Think about mouthfeel; that’s how food feels in your mouth. Include chewy gummies, crunchy chocolate-covered nuts, and hard candy that melts slowly. Pair creamy chocolates with tart, fruity bites. Don’t forget savory touches like chocolate-covered pretzels to balance all that sweetness.
You’ll want different shapes and sizes too. Small bites let guests sample everything without overdoing it.
Shop multiple stores for the best selection. This guarantees you won’t end up with three crunchy treats and nothing chewy.
Your guests will love exploring every jar, discovering new favorites with each visit to your candy bar.
Recommended Products
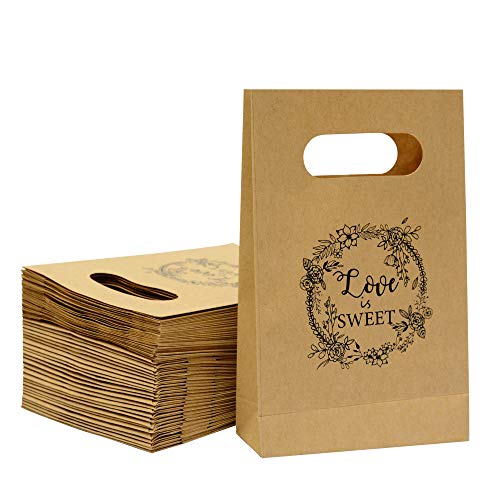
Recycled Material:These paper bag is made of high quality kraft paper and can be recycled. It is simple, durable and reusable

Large Quantity - 150 packs floral wedding favor bags are contained in the package, Each bag measures 13 x 18cm/5.1 x 7.1inch, large enough for candies and other gifts

Sufficient to Use: there are 300 pieces of wedding favor candy buffet bags in the package, which are enough to meet your different needs for wedding party favors; Each wedding treat bag is approx. 5 x 7 inches/ 13 x 18 cm, which is suitable to pack small gifts and other snacks
Find Containers in Different Heights and Sizes
How do you make a candy bar that actually catches the eye? You’ll want varying heights and shapes throughout your display.
A candy bar that catches the eye needs varying heights and shapes throughout your display.
Start with glass vases and apothecary jars as your foundation. These classic candy bar accessories show off colorful sweets beautifully. Then, hunt for thrifted containers at secondhand shops. You’ll score unique pieces at bargain prices.
Mix things up with mixed materials: metal bowls, ceramic trays, wooden pails. This adds texture and keeps guests’ eyes moving across your table.
Now, create display elevation. Stack sturdy boxes or books underneath containers as risers. You’ll build layers without tipping risks. Just keep heavier jars low and lighter ones up high.
Remember to check that openings allow easy scooping and refills. With smart container choices, you’ve built a candy bar that’s both gorgeous and guest-friendly.
Recommended Products

Wedding Candy Decoration Stickers: the package contains 180 wedding candy wrappers in 6 different styles (any candies or chocolates are not included), each printed with an elegant and romantic pink theme pattern, with a variety of styles and sufficient quantities to meet your creative decorating needs for wedding

Party Theme -- The candy stickers for wedding party are designed with thank you and love is sweet words and fresh greenery style background, showing the thanks to guest's attending and beautiful design of the candy wrappers decor

Make Your Celebration Extra Sweet and Memorable: Turn your Miniatures bars into adorable party favors with these baby shower candy bar stickers. They’re the perfect way to delight your guests and celebrate.
Add Labels, Scoops, and Favor Bags for Guests
Your containers are set, and your candy bar looks gorgeous. Now you’ll add the finishing touches that make your candy bar display both beautiful and practical.
Label Everything Clearly
Grab chalkboard labels, ribbon tags, or stick labels to identify each candy’s flavor and ingredients. Your guests will thank you for knowing exactly what they’re grabbing, especially those with food allergies.
Keep It Clean and Easy
You’ll need separate scoops or tongs for every single container. This hygiene step prevents sticky fingers from mixing treats, and it makes portions quick to grab.
Send Sweets Home
Set out favor bags or take-home bags so guests can create their own guest takeaway. Choose cellophane, organza, or printed bags, and add signage saying “Thank You for Celebrating with Us.” Stock extra twist ties and sealing materials, too.
Recommended Products
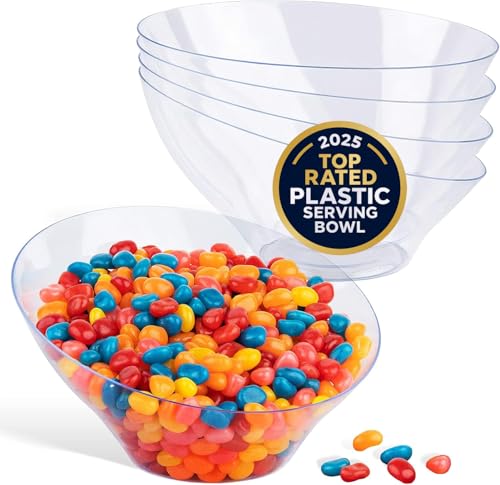
Elegant & Chic: Our clear bowls have an appearance like glass, without the worry of them breaking. This angled bowl is perfect for serving chips, salsa, popcorn, pretzels, mints, and other snacks.

Elegant & Chic: Our clear bowls have an appearance like glass, without the worry of them breaking. This angled bowl is perfect for serving chips, salsa, popcorn, pretzels, mints, and other snacks.

GREAT VALUE: Ample 12 pack small tongs and small scoops for candy ensures convenience, perfect for gatherings or daily use. Never run out of disposable serving tongs, stay prepared to serve with ease. Enjoy flexibility and style with this convenient supply.