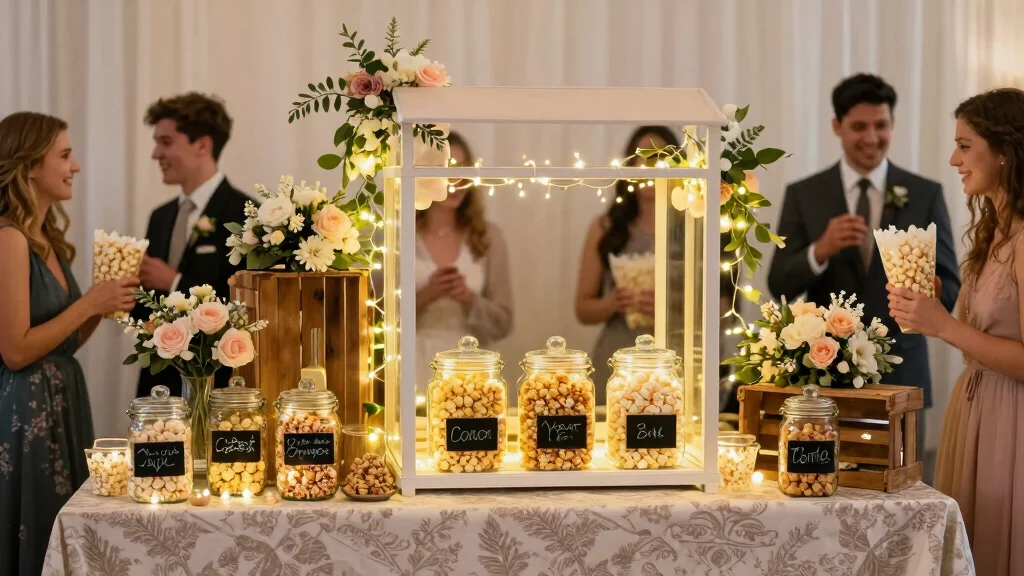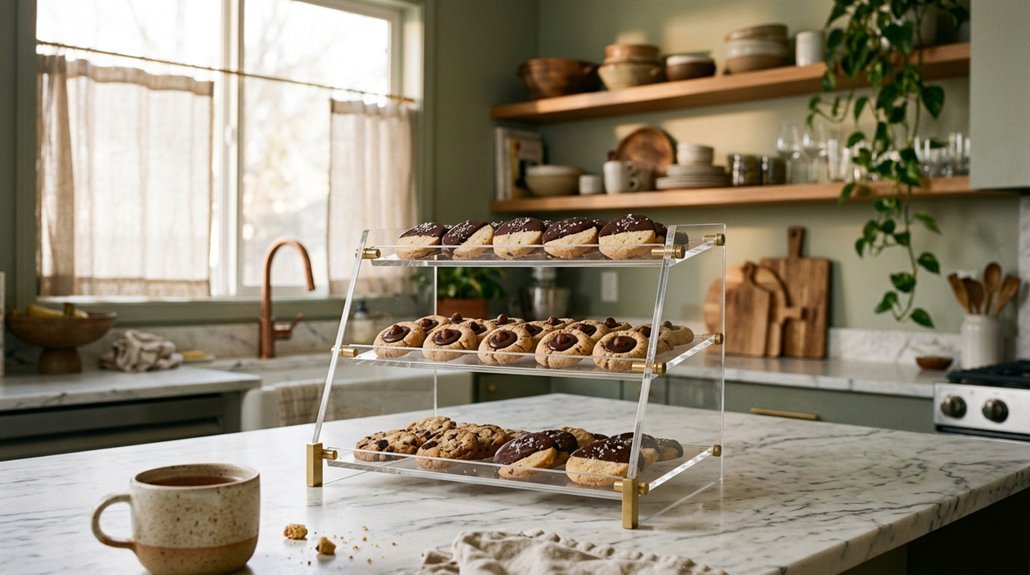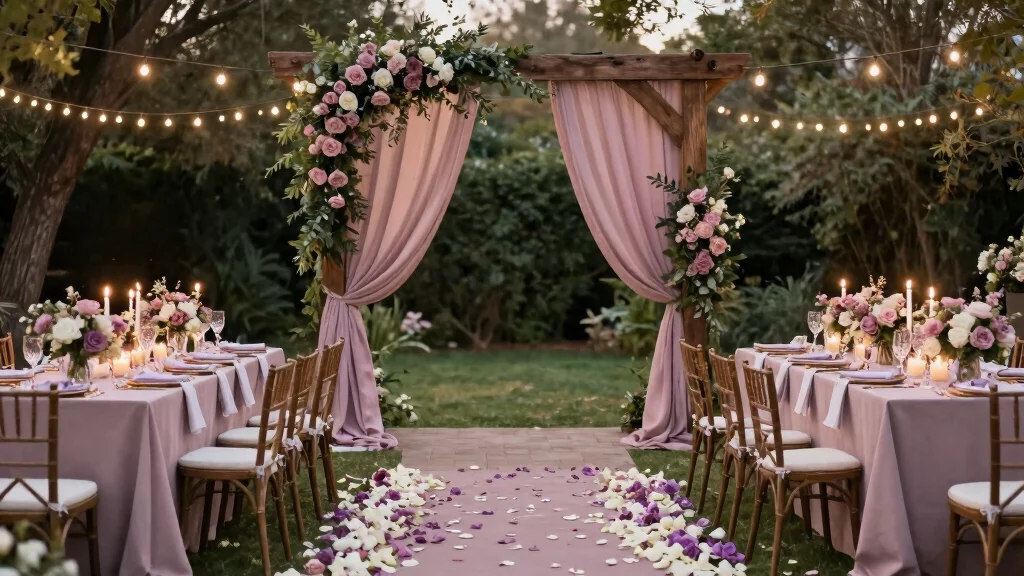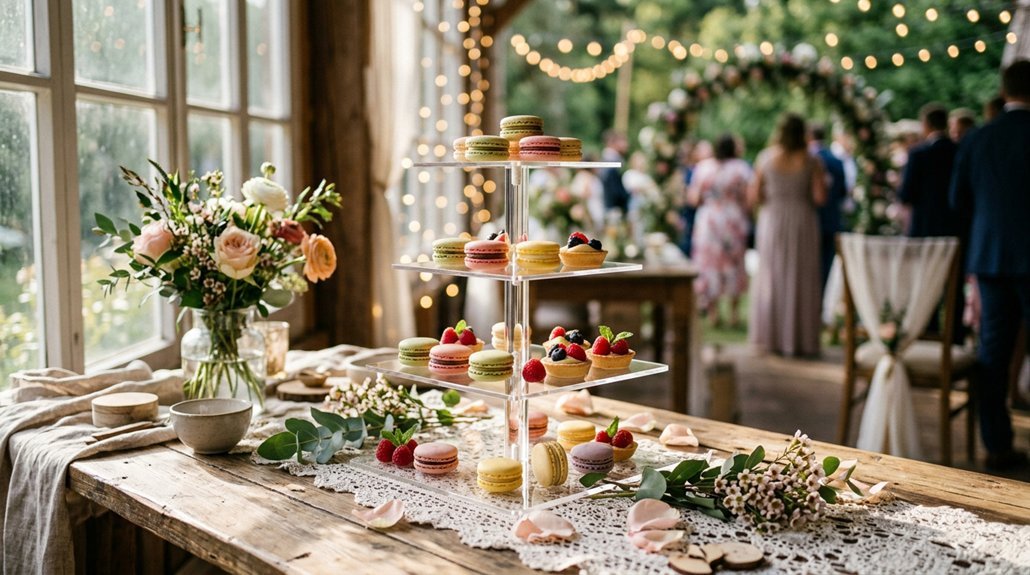

Think of the last great feast you saw in a storybook, the kind where sweets gleam like treasure. Your wedding dessert table works the same magic, but it is not just for show.
It paces your party, feeds a crowd fast, and gives guests a reason to mingle. You will want to know how to build one that actually works.
What Your Dessert Table Is Really For
Why does your dessert table matter so much? Your Dessert Bar isn’t just a sweet afterthought, it’s working three jobs all night. First, it’s gotta photograph well, so you’re getting those Instagram-worthy shots. Second, it paces your evening, giving guests natural breaks between dancing and toasts. Third, it serves people fast, so nobody’s stuck in line missing the party.
You’re not just extending the buffet here. You’re staging a full setup with purpose. That means thinking about height, flow, and how folks actually move through the space.
Start with a hero dessert up high, around 14–22 inches. Flank it with two medium pieces at 8–12 inches. Your mid-zone sits at 3–6 inches, holding 4–6 smaller treats guests can actually reach. Skip the wooden crates, acrylic plinths won’t flex under heavy cakes and they vanish in photos, keeping attention on your sweets.
Recommended Products
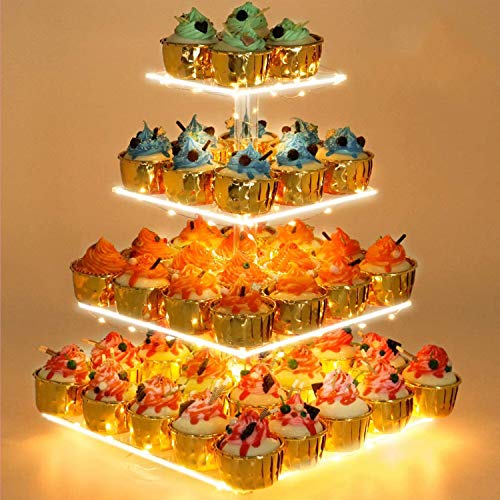
What You Need: Are you on the search for a special and exquisite way of displaying cupcakes? From now on, any wedding, anniversary or birthday party is going to be more fun with the modern stylish cupcakes stand that will create an amazing display for your dessert, it is ease of use and comfortability.

【Complete 8-Piece Clear Buffet Risers Set】This set includes 8 clear buffet risers in 7 practical sizes — 3×3×1 in, 4×4×2 in (2 pcs), 4.9×4.9×3 in (2 pcs), 5.9×5.9×4 in, 6.9×6.9×5 in, and 7.9×7.9×6 in — plus 8 black mini table signs and colorful markers for easy labeling. These clear acrylic boxes for display create stylish, multi-level arrangements for desserts, appetizers, or collectibles

Donut Stands for Dessert Table: This donut stand can be used to display any dessert with a hole in the center. Perfect for wedding, birthday, party, baby shower and graduation party etc
The Five Zones Every Dessert Table Needs
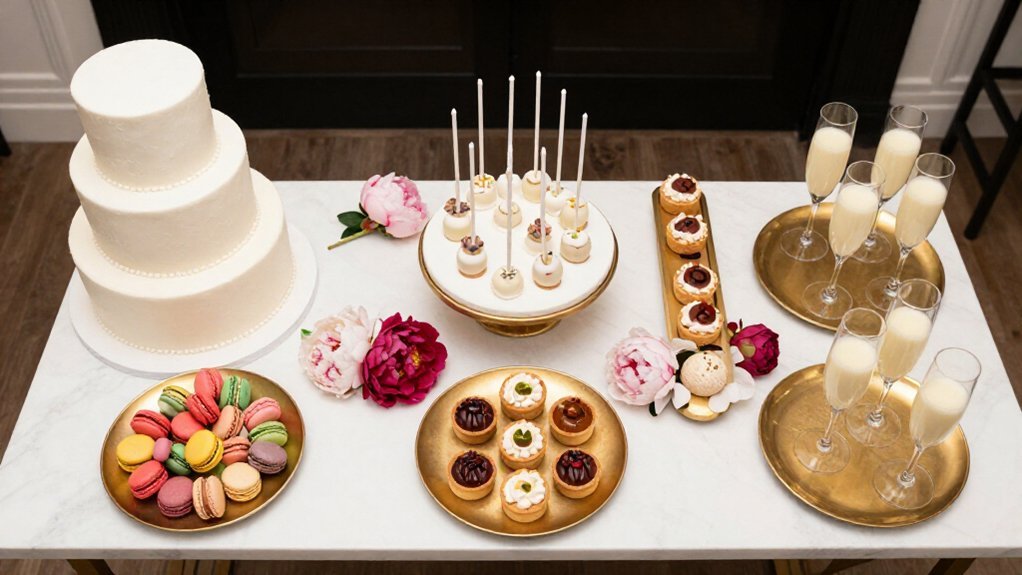
Your dessert table comes down from the inside out, and every inch needs a job. Nailing your dessert table layout means dividing the space into five clear zones that work together.
Every inch of your dessert table needs a job—divide it into five strategic zones that work together in perfect harmony.
Start with the anchor zone: that’s your hero dessert, the wedding cake, sitting center or back-center on acrylic plinths for clean sightlines and serious stability. Flank it with two medium-height pieces, left and right.
The mid zone holds 4 to 6 smaller treats at easy reach. Your guests shouldn’t stretch or crouch.
The plated zone runs the front edge with plates, forks, and napkins for grab-and-go ease.
Finally, the accent zone adds florals last, kept low (about 2 inches under the cake) so they frame, not fight, your star.
Recommended Products

Detailed Dimensions: This 3-tier cupcake tower is crafted from premium sturdy plastic, featuring trays with diameters of 6/8/10 inches and 4 MM extra thickness for enhanced durability. The total height measures 14 inches after full assembly, and it can securely hold up to 18 small standard cupcakes

2 PCS-8" PLATE , 2 PCS-10" PLATE, 1 PC 14" LOW PROFILE PLATE

WE HAVE REDESIGNED OUR PLATES TO MORE THICKER MATERIAL AND IT IS MORE STURDY AND DURABLE
Height Strategy for Your Wedding Dessert Table: Build Drama, Not Chaos
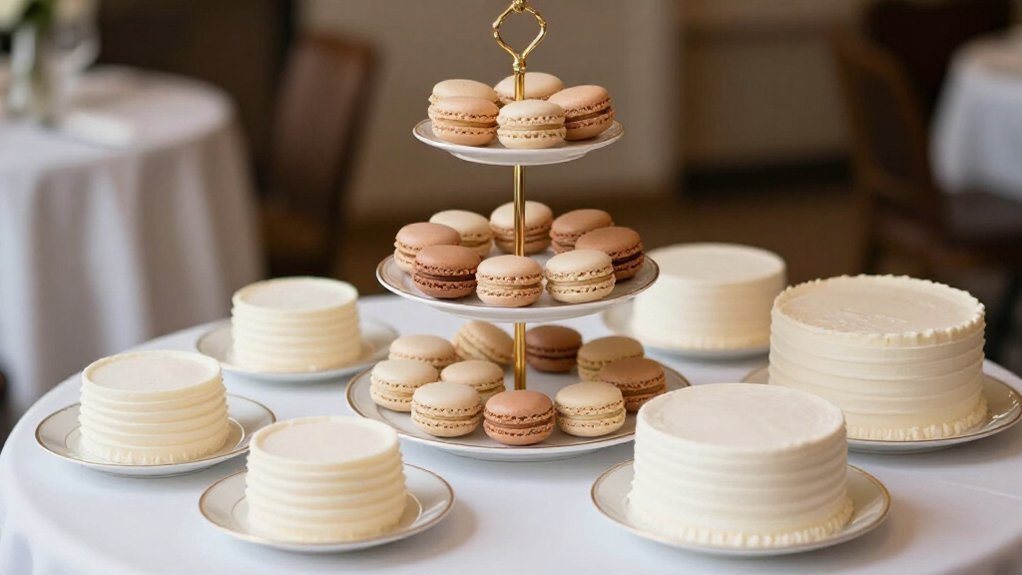
You know the five zones, but now let’s talk about how to make them sing.
Start your wedding dessert table height strategy with the hero cake. Place it at 14 to 22 inches off the table, including its stand. Flank it with two medium pieces at 8 to 12 inches each.
Your mid zone needs 4 to 6 smaller items at reachable height, filling the space between those flanks. Keep things practical.
For the plated zone, stay flat. Put plates, forks to the right, and napkins to the left right on the table surface. Raising this zone slows guests down, and you don’t want that.
Add florals last, keeping them about 2 inches below your cake height. This preserves the drama without stealing the show.
Build your heights wisely, and you’ll create stunning visual flow.
Recommended Products

🎁 Complete Tiered Dessert Display Set - 6 three-tiered cupcake stands (3 round + 3 square), 4 serving trays, and 3 dessert tongs. Perfect for wedding cake displays, baby shower decorations, and birthday dessert tables

1. Elegant Proportions for Timeless Appeal Standing at 2.6 inches in height with a 14‑inch diameter and weighing 2.4 lbs, this low‑profile cake stand offers refined stability. Its wider flat surface perfectly holds large cakes and multi‑tier desserts, elevating table settings without losing elegant aesthetic.
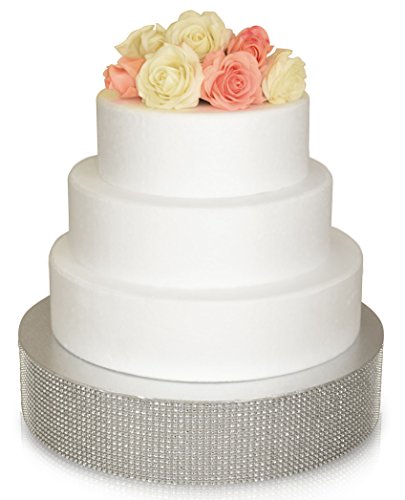
HEAVY DUTY SUPPORT: 14 inch round cake stand holds up to 150 lbs—perfect for large tiered cakes at weddings, parties, and special events.
Round or Rectangular: Choose Your Table Shape
You’ll want to think about how your guests will move, see, and gather around your sweets when picking between a round or rectangular table. Round shapes invite people to circle up and chat while they sample. Rectangles let you line up treats in a clear story from left to right.
Check your venue’s layout, your guest count, and how much wall or open floor space you’ve got before you commit.
Recommended Products

MASTERFUL SERVING MADE SIMPLE: 13-inch extended cake cutter features evenly serrated blades for effortlessly cutting larger cakes, complemented by a 10.39-inch cake server with a wider surface to prevent dropping during transfer; Ideal for everything from tiered cakes to deep-dish pizzas

Warm Tip: During installation, each step needs to be tightened slightly to prevent loosening.

【All-In-One Cupcake Stand】Elevate your event with our dessert table display set, including 3-tier round stand x3, 2-tier round stand x2, 2-tier square stand x1, large rectangular trays x4, square trays x2, round plates x6, food tong x1, cake server x1, fruit forks x6, patterned paper x10. No need to search and pay extra for tools elsewhere. Our cake stand offers the best value to build a professional dessert table instantly.
Space and Flow
How do you want your guests to move, gather, and linger? Your dessert table layout shapes the entire experience.
Round tables create natural circulation. Guests flow around smoothly, chatting while they choose. Rectangular tables stretch your display in a line, letting more people browse at once without crowding.
Build your heights with purpose. Place your main piece, the wedding cake, at the tallest point in back or center. Flank it with two medium pieces. Fill the middle zone with four to six smaller treats.
At the front edge, stack plates left, forks right, napkins beside them. This keeps service swift and tidy.
Choose acrylic plinths over wood. They won’t warp, they photograph cleanly, and they hold heavy cakes steady.
Plan for speed. You’ll want to serve 80 to 150 plates in 45 minutes without your display collapsing. Get this timing right, and you’ll keep key moments like cake cutting on track.
Visual Impact Options
Round or rectangular: the shape you choose frames everything your guests see.
Round tables create a natural centerpiece. Your guests circulate easily, and you spotlight one stunning “hero” dessert, usually your tallest cake, with medium-height treats flanking it.
Rectangular tables stretch your spread. You build linear drama, perfect for showing off more sweets in organized rows.
Either way, master your dessert table design with three zones. Place your tallest piece at the back. Build a middle zone with 4 to 6 smaller items at easy reach. Put plates, forks, and napkins at the front edge so guests grab and go.
Ask yourself: do you want intimate flow or grand presentation? Your answer shapes the whole experience.
Venue Compatibility Check
Where you set up matters just as much as what you serve. You’ll want to match your dessert table setup to your venue’s flow so guests don’t bunch up or miss the good stuff.
Round or Rectangular: Pick Your Shape
- Round tables work best in corners or center spots; place your hero cake in the middle with medium displays flanking it in a 60–120 degree arc so everyone sees the star.
- Rectangular tables stretch along walls; line 4–6 smaller risers across the mid zone so folks can grab from either side without a traffic jam.
- Watch your spacing: leave 3 feet behind for staff and 4 feet in front for guests with plates.
- Aim for speed: either shape should let you push out 80–150 plates in 45 minutes when positioned right.
Your photos, your pace, and your guests’ happiness all ride on this choice.
Acrylic Plinths or Rental Crates: Best Bases for Dessert Displays
You’ll want to weigh the sleek reliability of acrylic plinths against the rustic charm of rental crates when planning your dessert display. Acrylic plinths give you clean, modern lines that won’t steal attention from your treats. They’re also sturdy enough for your heaviest tiered cakes without warping or staining.
Rental crates can warm up your table with farmhouse character. You’ll need to watch for chipped paint or moisture damage that might photobomb your big-day shots.
Recommended Products

DURABLE IRON CONSTRUCTION — Crafted from iron with a gold-finished coating for enhanced longevity. The screw-connection design provides a stable base for your party decorations and displays.

【Love In Bloom Bridal Shower Decorations And Baby In Bloom Baby Shower Decorations】These reception signs can be used to decorate your wedding shower or baby shower party events, put it on the table to create an unforgettable atmosphere while entertaining guests.
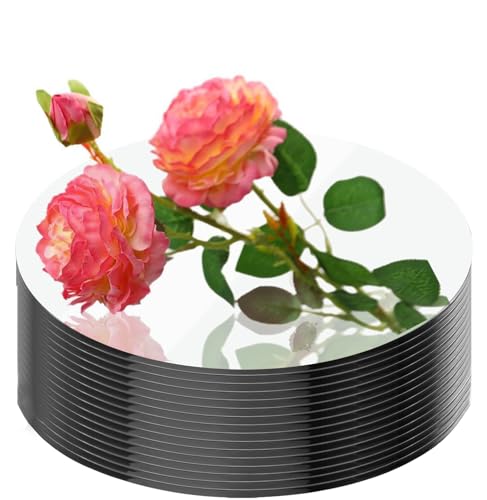
PLENTIFUL AMOUNT: You will receive 16 pieces of round acrylic mirrors for centerpieces in an elegant, their exquisite appearance can meet your various decorative needs, and their quantity is adequate for you to utilize and replace in your daily life.
Acrylic Plinth Benefits
Why settle for tired, stained wood crates when you’re building a show-stopping dessert table? Acrylic plinths give you a cleaner, more polished look that won’t steal attention from your desserts.
Here’s why acrylic plinths work so well:
- They stay photo-ready. Unlike wood, acrylic doesn’t absorb moisture or stain, so your display looks fresh in every shot.
- They fade into the background. Clear or white surfaces keep eyes on your treats, not busy textures.
- They’re seriously strong. Commercial-grade acrylic holds heavy cakes without wobbling or flexing.
- You get easy height variety. Nesting sets in multiple sizes let you layer desserts for dimension.
Use acrylic plinths for your tallest riser and mid-to-low levels. You’ll cut photo distractions and lock in that modern, cohesive style you’re after.
Rental Crate Advantages
How do you pull off a gorgeous dessert table without buying a truckload of gear you’ll use once?
You rent sturdy wooden crates and skip the storage headache. Rental crates cost less upfront and get picked up when your party ends. No basement full of bulky boxes, no guilt about waste.
But here’s the catch with crates. They can chip, swell if something spills, and look busy in photos. You might find yourself hiding their labels or mismatched wood tones.
That’s where acrylic plinths shine as your star base. You rent those sleek, clear towers too. They won’t show water rings or fight for attention in your shots. You’ll stack cakes on clean lines that let your desserts stand out.
Mix both if you dare. Put your showstopper cake on acrylic plinths, then flank it with rustic crates for cookies and treats. You get height, contrast, and zero buyer’s remorse.
Build Your Wedding Dessert Table: A Step-by-Step Guide
Where do you start when you want to build a wedding dessert table that wows your guests? You begin with a plan that photographs beautifully, paces your evening, and serves everyone quickly. Your dessert table needs to move 80 to 150 plates in just 45 minutes, so efficiency matters.
Here’s your step-by-step guide:
- Place your hero: Position the wedding cake at the tallest height, center or back-center, with two medium-height displays flanking it.
- Fill the mid zone: Add 4 to 6 smaller items at reachable height for easy grabbing.
- Set the plated zone: Put plates, forks, and napkins at the front edge.
- Add florals last: Keep flowers about 2 inches below the cake so photos stay clean.
Now you’re ready to sweeten your celebration.
Recommended Products

Comprehensive Package: the package includes 1 X 4 Tier acrylic display tower, 2 X 3 Tier acrylic risers stands, and 3 X round trays; This comprehensive dessert display stands set is suitable for displaying a variety of items comprehensively

Suitable for Various Occasions: 4 tier cupcake stand with LED string yellow lights can maximum hold 50 - 52 PCS min 2 inch cakes; Cupcake tower can also place cakes, desserts, pastries and other food; Suitable for Valentine's Day, Mother's Day, Thanksgiving, birthday, anniversary, wedding, Christmas, New Year, party and other occasions

STURDY AND ELEGANT DONUT HOLDER---Our donut stands are made of strong and durable food grade premium acrylic.The large rounded base ensures this stand won't wobble. The transparent material makes it fit well into your party display.
Wedding Dessert Table Mistakes to Avoid
What mistakes turn a beautiful dessert table into a rushed, messy letdown? Dessert table layout mistakes trip up even careful planners, and you’ll want to sidestep them.
Don’t let your hero cake fight for attention. Place it center or back-center as your tallest piece, with two medium-height flanking pieces at its sides. Anything else steals focus.
Skip wooden crates. They absorb moisture, chip in photos, and flex under weight. Choose acrylic plinths instead; they’re sturdy and picture-perfect.
Keep your mid zone clean with 4 to 6 smaller items at reachable height. Put plates, forks, and napkins at the front edge in the plated zone.
Add florals last, and keep them about 2 inches below cake height. This maintains proper visual hierarchy without overwhelming your sweet display.
Recommended Products

Complete 3-IN-1 Dessert Table Display Set – Elevate your event with this all-in-one cupcake stand set, including two 3-tier square stand (13.4" height), two round stand (13" height), and 6 large rectangular trays (14.5"x9.3"). The square stands hold 16 cupcakes each, the round stands hold 12 each, and the rectangular trays hold 72 in total, offering a combined capacity of 128 cupcakes. With sturdy trays and reinforced pillars, this display set is perfect for birthdays, weddings, baby showers.

【Complete Serving Set】Get everything you need in one pack! Includes 3 sturdy 3-tier round stands, 3 square 2-tier stands and 4 large rectangle trays - ideal for displaying desserts, snacks or party favors.

Premium Construction: 3 Tier Large Acrylic Glass Round Wedding Cake Stand made of strong food-grade acrylic material