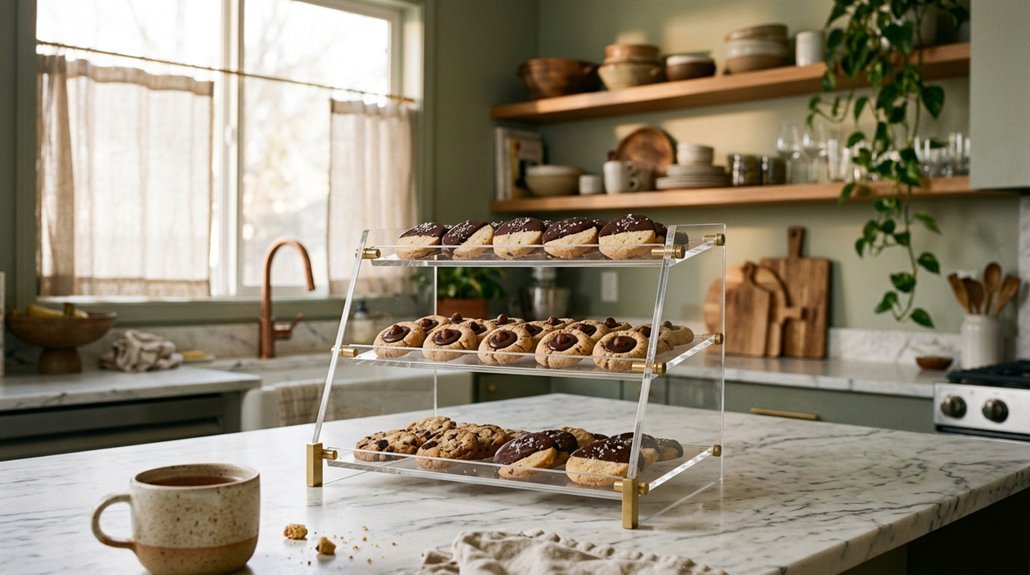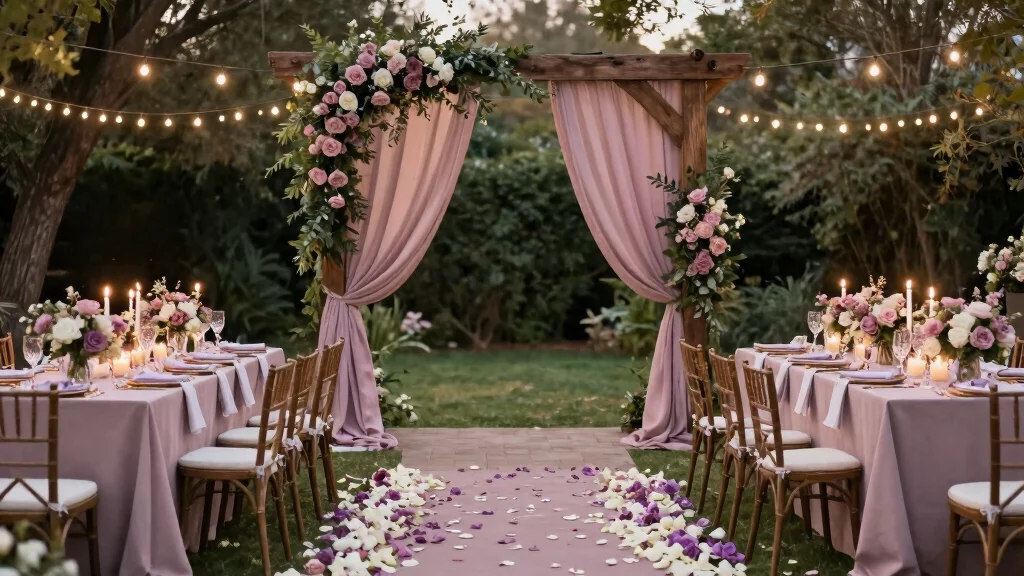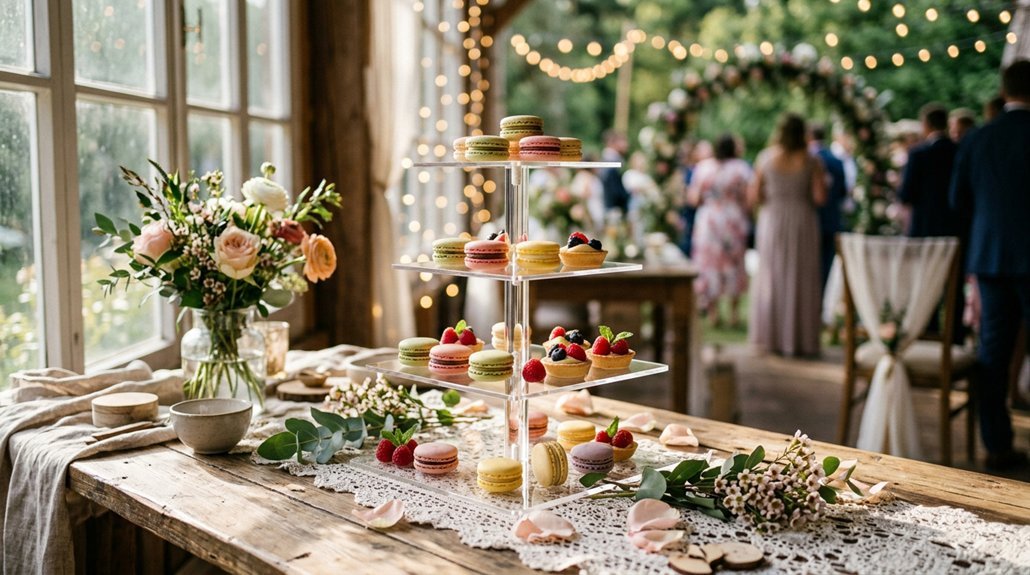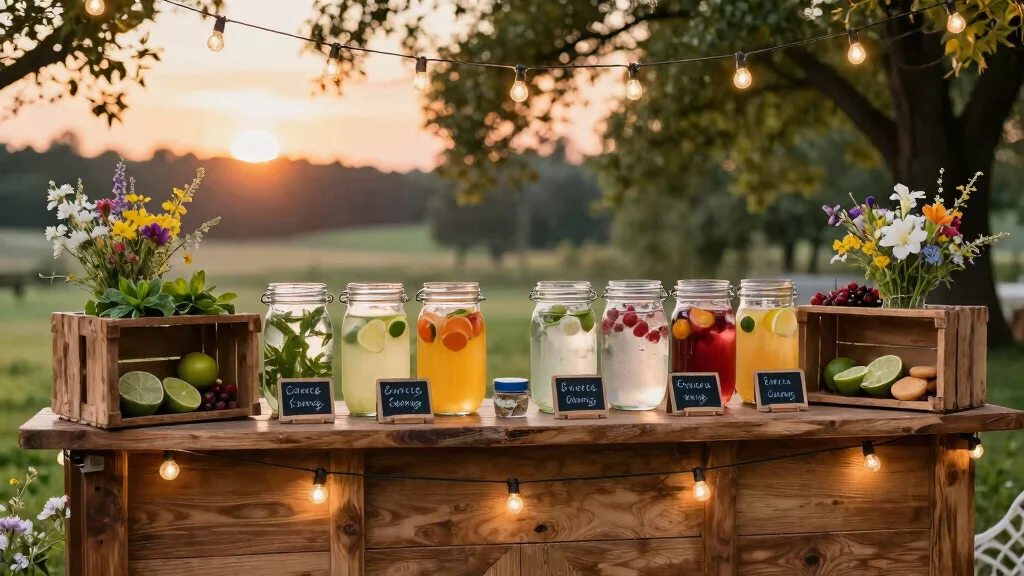

Did you know that 67% of couples now include interactive food stations at their weddings? A wedding candy bar is one of the sweetest ways to join that trend. You set out jars and dishes filled with treats your guests can grab themselves, from chocolate truffles to sour gummies. It works as your main dessert or pairs with a cake, and you can match the colors to your theme with custom wrappers and signs.
You’ll want to get the details right though, because a few simple mistakes can turn your centerpiece into a sticky situation.
What Is a Wedding Candy Bar?
Why not give your guests something sweet to remember? A wedding Candy Buffet lets you do just that.
You create a display where guests grab their favorite sweets. This setup works as your standalone dessert or as part of a larger dessert table.
You mix flavors to please everyone. Include chocolates, sour candies, sweet gummies, and maybe something salty to balance the taste buds.
You arrange jars and dishes on stands of different heights. This creates visual appeal and helps guests reach treats easily.
You customize your Candy Buffet to match your wedding colors and theme. It also works as a budget-friendly favor option.
You’ll provide take-home bags and scoops so guests fill their own treats to enjoy later.
Recommended Products

GREAT VALUE: Ample 16-bowl pack ensures convenience, perfect for gatherings or daily use. Never run out of party bowls or candy scoop stay prepared to serve with ease. Enjoy flexibility and style with this candy table display sets.

【Durable Elegant Design】COMNICO's candy dispenser crafted from high-quality PET plastic, these large candy jars offer the elegance of glass without the risk of shattering. The plastic apothecary jars with lids are lightweight yet sturdy, making candy bowl perfect for families with children or pets. Their sleek design complements any decor

Hot Chocolate Supplies: your packaged includes 30 hot chocolate plastic jars with aluminum lid, 100 blank tags, 30 wooden spoons, 30 hot cocoa stickers, 1 rope, they help you pack Christmas winter hot cocoa-themed party gifts
How Much Candy Do You Need?
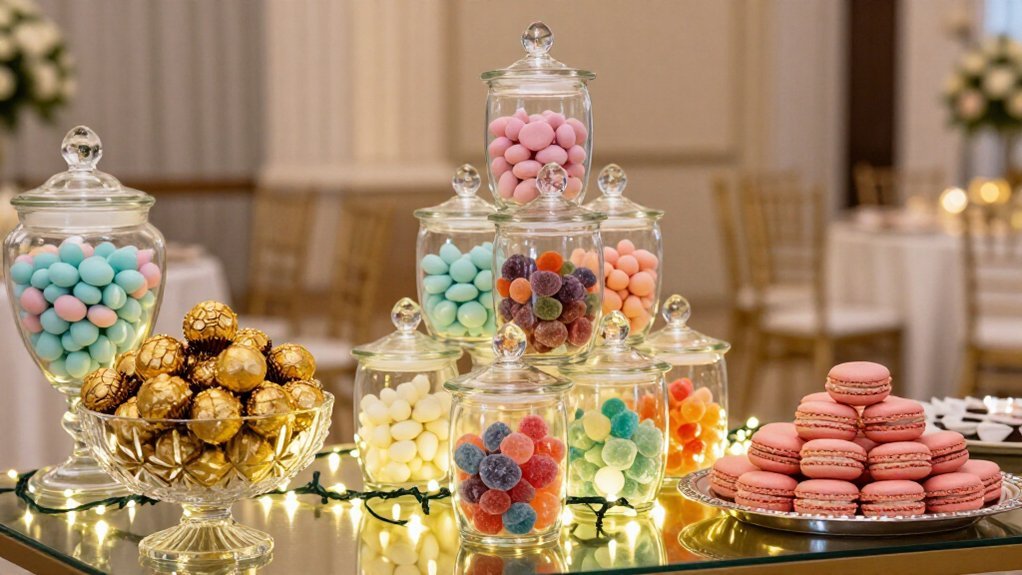
Now that you’ve got the vision for your wedding candy bar, it’s time to figure out how much candy to actually buy. Quantity planning starts with a simple rule: plan for about one pound of candy per guest. That sounds like a lot, but you’ll want plenty of variety.
Next, think about your crowd. Are you also serving cake or other desserts? Cut back a bit. Got kids attending? You might need extra. Is your candy bar open all night? Guests will graze more.
Don’t stress about leftovers. You can wrap bulk candy airtight to keep it fresh for months, or share extra sweets with helpers afterward.
Remember to budget for jars, scoops, and take-away bags. These essentials complete your setup and let guests pack treats to enjoy later.
Recommended Products

1.100 % New and High Quality, Dishwasher safe

Multipurpose. The multi-purpose scoops are good for scooping and holding vegetables, fruit, and meat and so on. The tongs are ideal for sugar cube, ice cube, marshmallows, lemon slice, jelly, cookie, salads, sandwich, cake, bread.

Package includes: you will receive 6 pieces of plastic serving tongs and 6 pieces of plastic kitchen scoops, enough amounts to meet your daily usages, also enough for you to share them with your friends
What Does a Wedding Candy Bar Cost?
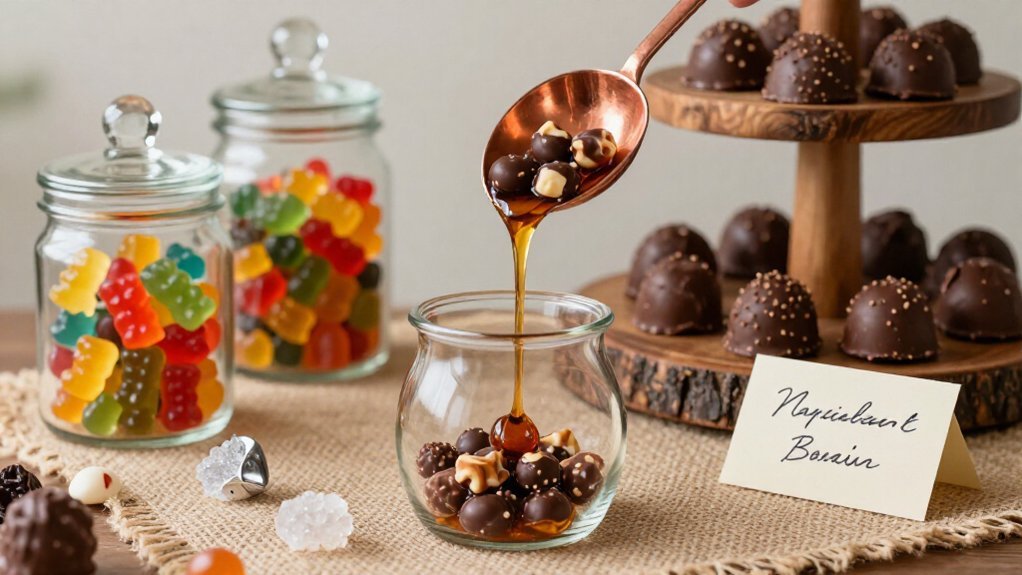
Your costs don’t stop at the sweets themselves. You’ll need jars, scoops, labels, and go-bags for guests to take treats home. Don’t forget storage and transport for perishable items, either.
Here’s how to stretch your dollars:
- Buy bulk candy to lower per-pound prices
- Wrap unopened bags tightly to extend shelf life
- Plan extra for display items beyond the candy
That one-pound-per-guest rule keeps things simple, and leftovers aren’t bad; you’ve got snacks for weeks. Just account for every element upfront so your sweet surprise doesn’t turn into a bitter bill.
Recommended Products

Wedding Candy Decoration Stickers: the package contains 180 wedding candy wrappers in 6 different styles (any candies or chocolates are not included), each printed with an elegant and romantic pink theme pattern, with a variety of styles and sufficient quantities to meet your creative decorating needs for wedding
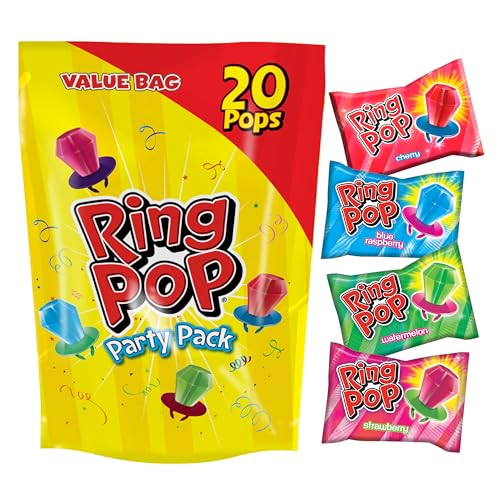
ASSORTED CANDY VARIETY PACK: Contains a selection of 4 mouth-watering fruity flavors: Strawberry, Blue Raspberry, Watermelon, and Cherry so everyone can have their favorite!

PINK COLOR COLLECTION ASSORTMENT: Features a vibrant mix of pink jelly beans in Cotton Candy and Bubble Gum flavors
Where to Buy Wedding Candy in Bulk
You’ve got plenty of places to hunt for bulk wedding candy, and most of them are just a click or a short drive away. Online retailers and specialty party supply stores stock multi-pound bags and pre-mixed “wedding” assortments that save you time and money.
Popular bulk candy options include Hershey’s Kisses, Jordan Almonds, M&M’s, and retro treats like White Rock Candy Crystals. You’ll find color themes to match your big day. Expect to pay around $19.99, $69.99 for bulk Hershey’s Kisses, or $14.99 for 12oz M&M’s bags.
Many suppliers let you customize packaging with stickers, tags, and organza bags. Watch out for sold-out items, though. Some collections hide extra choices behind “Load more” buttons, so dig around before you buy.
Recommended Products
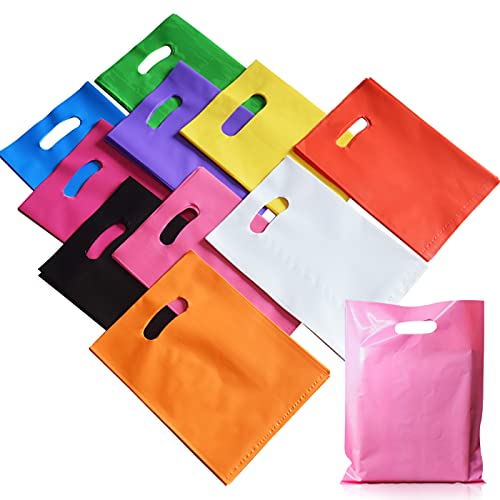
【10 Bright Color】Value Pack including 10 bright colors: blue, black, pink, yellow, white, green, red, purple, orange, and rose red. Each color 10 PCS, totally 100 small gift bags. VieFantaisie plastic party favor candy treat bags have enough colors for various occasions and will surely leave a vivid impression.

Sufficient Quantity: including 100 wedding cookie bags, abundant quantity to make them an ideal choice for large wedding parties or events; The paper treat bags are about 5.12 x 7.09 inches/ 13 x 18 cm, providing ample space for your baked goods
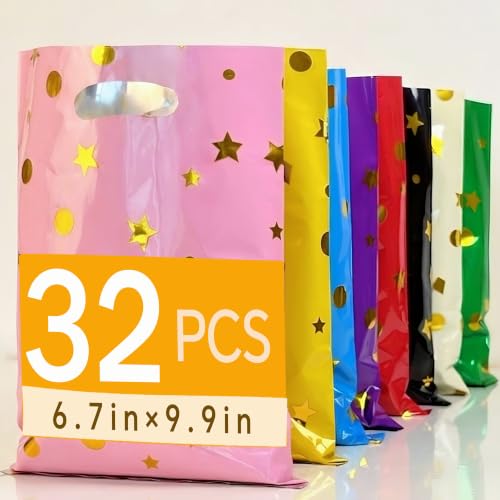
Sturdy Handles & Convenient Size: Measuring 6.6"W x 9.7"H, these metallic gift bags come with reinforced die-cut handles for easy carrying. The moderate size and strong weight-bearing capacity (up to 1.5 lbs) make them suitable for guests to take home their treasures comfortably
Plan Your DIY Candy Bar in 4 Steps
You’ll start by assessing your space to make sure your candy bar fits and flows with your venue. Next, you’ll source your supplies, from bulk candy to jars and scoops, keeping your budget in check. Finally, you’ll arrange everything with height, using pedestals and stacked containers to create a display that looks great and tastes even better.
Recommended Products

Mini chalkboard signs: Use to label food, display messages, or as place cards for weddings, parties, buffets, classrooms, and home
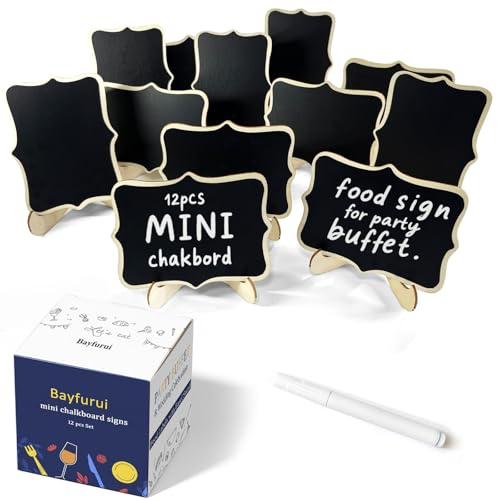
[Multi Occasions]:By changing the place direction of the chalkboard, These buffet food signs can be used horizontally or vertically: Labeling the drink/food on dessert table, a guide board for themed parties, Used as small sale signs for retail store and much more.

[Multi Occasions] :By changing the place direction of the chalkboard, These buffet food signs can be used horizontally or vertically: Labeling the drink/food on dessert table, a guide board for themed parties, Used as small sale signs for retail store and much more.
Assess Your Space
Where exactly will your candy bar live on the big day? You’ll need to assess your venue first. Look around and decide if you’ve got a dedicated display area or if a compact setup works better for your space. This choice shapes everything that follows.
Your display setup brings the candy bar to life. Grab visually varied vessels or jars on pedestals of different heights. This creates depth and keeps eyes moving across your table.
Before you start, remember these three essentials:
- Plan beyond candy with labels, decor, takeaway bags, and scoops
- Hunt for thrifted or vintage decorations to save money
- Find a cool storage spot to prevent melting
You’re building something beautiful, one smart choice at a time.
Source Your Supplies
Now comes the fun part: gathering everything you need to bring your candy bar to life. Start by surveying your venue to determine if you have a dedicated display area or a compact setup. This shapes what supplies you’ll actually need.
Source a mix of vessels and jars on pedestals of different heights. These create visual appeal and easy access for your guests. Don’t stop at containers, though. You’ll want labels, decor, and takeaway bags, too. These finishing touches complete your display and make it feel intentional.
Consider thrifted or vintage decorations for a unique, cohesive look that matches your theme. You’d be surprised what treasures you’ll find.
Finally, plan where you’ll store your candy before the big day. Keep it somewhere cool to prevent melting and preserve freshness. Nobody wants a sticky mess.
Arrange With Height
With your supplies gathered and ready, it’s time to think about how you’ll actually set everything up. Building height into your candy bar keeps things interesting and helps guests see all their options at a glance.
- Layer your jars and bowls at staggered heights to show off different candy textures and colors.
- Use risers or cake stands to add height without crowding your table, so guests can still scoop and bag easily.
- Plan your color palette across heights, like metallics up top and glass jars in the middle, for a cohesive look.
Don’t forget eye-level labels along the edges. They’ll guide guests as they mingle around your multi-tiered setup. With smart height choices, your candy bar will look full, inviting, and totally picture-perfect.
Stock Your Candy Bar: 12 Essential Candies
How do you choose the right candies without breaking the bank or overwhelming your guests? You’ll want to balance variety, budget, and crowd-pleasing appeal when stocking your candy bar.
Start by planning about one pound of candy per guest. Don’t fear leftovers, they’ll disappear fast! Mix flavors and textures to satisfy everyone: sweet gummies, sour belts, rich chocolate, and a salty option like pretzels.
Save money with bulk candy. Jelly Belly beans, Jordan Almonds (those candy-coated almonds with a crunchy shell), Hershey’s Kisses, and M&M’s give you volume without draining your wallet.
Don’t forget the essentials: clear jars, scoops, go-bags, and labels. These tools let guests serve themselves easily and keep your display looking polished.
Your candy bar becomes both treat station and favor station, guests leave happy, and you’ve checked two wedding tasks off your list.
Recommended Products

Hot Chocolate Supplies: your packaged includes 30 hot chocolate plastic jars with aluminum lid, 100 blank tags, 30 wooden spoons, 30 hot cocoa stickers, 1 rope, they help you pack Christmas winter hot cocoa-themed party gifts

【Crystal-clear plastic that looks just like glass】You won't shatter if you drop it. These plastic candy jars have that gorgeous glass-like transparency that makes your candy display look elegant and expensive, but they're made from sturdy, shatterproof plastic. No worrying about broken glass at your wedding, party, or around kids. Lightweight enough to carry to events, durable enough to use again and again. The best of both worlds — the look you want, without the stress. And the reliable plastic wipes clean easily with no stains or scratches.

Package Content: this pack includes 4 clear jars with lids; Each candy storage jar comes with a lid, making it ideal for those who frequently bake or entertain; The pack efficiently accommodates assorted goodies, enough quantity to meet your various requirements; Note: this product is made of plastic; Please confirm the material before purchasing
Match Your Candy Bar to Wedding Colors
You’ll want to match your candy bar to your wedding colors so it looks like it belongs there, not like an afterthought. Start by picking jars, labels, and take-home bags in your palette. Then fill them with candies wrapped in matching foils like pastel Hershey’s Kisses or white Jordan Almonds.
Vary your jar heights and add pedestal displays for visual pop that pulls your whole reception together.
Recommended Products

GREAT VALUE: Ample 36 - bowl pack ensures convenience, perfect for gatherings or daily use. Never run out of party bowls, candy scoops and plastic tongs stay prepared to serve with ease. Enjoy flexibility and style with this candy table display sets.

What You Will Get: the package contains 4 pieces of sweet candy buffet ice tongs and gold ice scoop in different styles, including 1 piece ice shovel, 1 piece stainless steel ice tongs, 1 piece stainless steel sugar cube ice tongs and 1 piece high mirror gloss food tongs with teeth, rich styles, which can meet your multiple needs
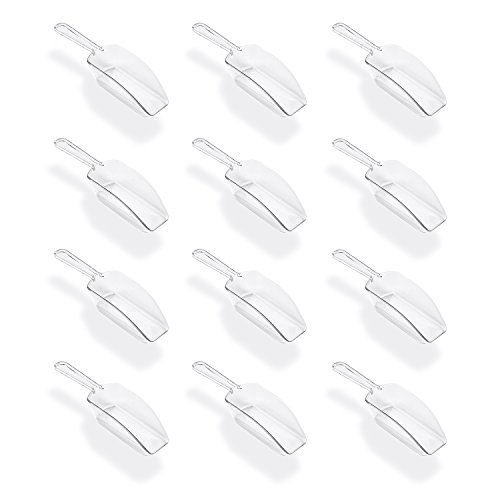
Bring to life all those candy buffet ideas for that upcoming fundraiser and create an exciting and attractive dessert presentation with these versatile kitchen scoops. Have them ready in your birthday party supplies and basic party decoration options to create a festive event for your guests.
Color Palette Coordination
Why settle for a candy bar that clashes with your big-day style? You can create stunning candy bar colors through careful color coordination that connects every element. Start by matching your jars, labels, and take-home bags to your wedding palette, whether that’s soft pink and blue or warm metallic gold and ivory.
Here’s how you nail the look:
- Choose candies in matching wrappers or decorative accents that reflect your chosen hues.
- Mix solids and multi-colored candies within the same color family; this keeps things harmonious while giving guests variety.
- Add color-coordinated signage and dessert toppers for a unified display that photographs beautifully.
Keep your venue lighting in mind too. Brighter candies pop under warm lights, while muted tones work best with cooler backdrops. Your photos will thank you!
Foil Wrapper Selection
Where do you start when you want your candy bar to look polished from top to bottom? You start with foil wrappers.
Foil wrappers come in dozens of colors, pink, lavender, red, blue, gold, and silver, so you’ll match your wedding palette perfectly. When you pick candies with coordinated wrappers, you’re building a cohesive candy bar display that photographs beautifully.
Think about your whole spread. Pink foil Kisses pair with pink ribbons and labels. Gold wrappers create a rich, royal feel. These colors work across candy types, from Miniatures to Jordan Almonds, giving you that uniform look guests notice.
Before you buy, check which wrappers are actually available for your chosen treats. Plan for balance, mixing colors so your station looks full, not flat. Your attention here turns simple candy into a stunning, photo-ready centerpiece.
Themed Candy Choices
How do you turn a basic candy table into something that feels truly yours? You match your candy choices to your wedding colors. When you align your sweets with your palette, you create a display that photographs beautifully and feels intentional.
Start with color-coordinated options that fit your theme. You’ll find many shades to work with.
- Select milk chocolate candies in foil wrappers that match your colors, gold, rose gold, or custom wraps work well.
- Sort jelly beans by color into separate glass jars; guests love picking their favorites.
- Add Jordan almonds or coated chocolates for texture and tradition.
Check that your labels and scoops match the scheme too. You’re not just serving candy, you’re extending your wedding design onto the table.
Style Your Display: 7 Candy Bar Looks
What’s the secret to a candy bar that wows your guests before they even taste a thing? It’s all in the display styling. You create visual drama by building height with cake stands, pedestals, and stacked books beneath your jars and platters.
Start with your wedding colors. You might choose a rustic vintage look with wooden crates and lace, or go with monogrammed labels and metallics for something more modern. Group odd numbers of containers together, and vary their shapes for interest.
Don’t forget practical touches. You’ll want scoops for every jar, plus clear bags so guests can fill their favorites to go. Mix heights, textures, and flavors, sweet, sour, chocolate, maybe even something salty. Your candy bar becomes both beautiful and deliciously functional.
Recommended Products

Package Includes: you will receive a roll of chocolate drop stickers, 1000 stickers per roll, suitable for various kinds of snack packaging decoration; You have to note that this product only has stickers, no candy

Buffet contains 11.9 pounds of delicious candy. Candies include: 90 green foiled kisses, 3 12oz bags of green 1-inch gumballs, 68ct green wrapped miniatures, 2 12oz bags of green apple jelly beans, 2 10oz bags of green chocolate gems, 2 12oz bags of green apple sugar sanded gummy bears, 3 8oz bags of foiled milk chocolate balls, 1lb lime salt water taffy and 12oz bag of mint truffles.

Includes 24 black and white swirl lollipops with black ribbon bows, each with a classic cherry flavor for kids and adults.
Personalized Candies Your Guests Can Take Home
Once your guests finish sampling your candy bar, you’ll want them to leave with something special to remember your day. Personalized treats turn your candy bar into a keepsake station they’ll actually use.
Here’s how to make it happen:
- Wrap it up: Design custom mini candy bar wrappers with your initials and wedding colors for instant cohesion.
- Tag it: Add gift tags or stickers with your names, date, or phrases like “Sealed with a Kiss” to HERSHEY’S KISSES or other candies.
- Bag it: Fill mesh, kraft, or organza bags with sweets that match your theme, doubling as decor and favors.
Want extra function? Try place-card wrappers or boxes that guide guests to their seats. You’ll give them something sweet to remember you by.
Recommended Products

UNIQUE DESIGN - These dinosaur party favor boxes are a great addition to your party supplies, with different vivid watercolor dinosaur patterns printed on both sides of the box, will surprise your guests with even more.

Package Includes: 100 pieces double side cellophane bags with 100 pieces silver twist ties, enough amount for you to complete a PET party candy serving

🎁Value 50 Pack Bulk: This set includes 50 PCS red plastic gift bags, each measuring 8 x 11 inches. This size is roomy enough for candies, jewelry, snacks, cookies, books, small toys, cosmetics,and craft supplies. The bulk quantity makes it easy to prepare party favors, candy treats, classroom rewards, or small gifts for a large group of kids, guests, or customers, offering a practical and cost-effective packaging choice for party planners, small shop owners, or anyone who loves to be prepared.
Wedding Candy Bar Mistakes to Avoid
Why do some candy bars look stunning while others fall flat? You might be making simple mistakes that trip up your display. Let’s fix them.
Skipping the labels. Your guests can’t guess between jelly beans and Jordan almonds. Clear labeling saves confusion and adds polish. You’ll want tags that match your colors too.
Forgetting the math. Buy about one pound of candy per guest, or you’ll run out fast. That’s roughly $1 per person when you factor in jars and scoops.
Ignoring accessibility. Place your candy bar where guests can actually reach it. Use pedestals to create levels, but keep scoops handy.
Overlooking dietary needs. Include some allergy-friendly options so everyone feels welcome.
Clashing with your theme. Your candy bar should complement your wedding, not compete with it.
Recommended Products

【Premium Material】- These Mini table number holders Made of high-quality metal, it is cute, and durable, sturdy. It will create a romantic and unique fashion sense for important occasions.

Sturdy matearial: Our mini chalkboards are made of en-friendly and safety wood, package includes 10 mini chalkboards, the head of the chalkboard is 4" x 3", package come individually wrapped in plastic which prevented. scratching and damage

Christmas Candy Bar Decorations: 1 candy bar banner with 2 strings, 2 sweet candy bar table signs, 10 food tent label cards, and 10 blank tent cards; good for candy party supplies and peppermint wall decor, christmas hanging decorations