
Mimosas rank among the top three most-requested wedding drinks nationwide, yet most couples wing the setup and run out of bubbly before the first dance. You don’t want to be that host.
A well-stocked bar keeps guests happy and your budget intact, but getting there takes more than a few bottles and some OJ. The right mix of sparkling wine, juices, and smart organization turns a simple drink station into the celebration’s most popular spot. Here’s how you pull it off without stress or second-guessing.
How Much Champagne to Buy for Your Mimosa Bar
How much bubbly should you actually buy? You’ll want to plan smart so nobody’s glass runs dry.
One bottle of sparkling wine gives you about 6 to 8 mimosas. For 20 guests drinking 2 to 3 each, grab 6 to 8 bottles. Hosting 40 or more? Eight bottles won’t cut it. Many hosts buy 30 to 35 bottles when offering multiple drink choices.
Here’s your quick checklist:
- Count your guests, then double it for drinks per person
- Multiply by your bottle yield
- Add extra bottles for safety
You can use Prosecco or cava instead of fancy champagne. These dryer sparkling wines balance sweet juices nicely, and you’ll still need similar bottle counts.
Always buy more than you think you’ll need. Running out mid-toast isn’t fun, especially in rural spots where restocking takes forever.
Recommended Products

0.0% Alcohol – Enjoy the Celebration Without the Buzz A sophisticated alcohol-removed sparkling wine, perfect for mindful drinkers or anyone seeking a festive, guilt-free option.
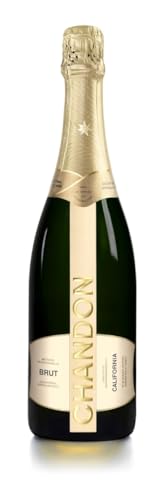
Sonoma County, California

One 750 mL bottle of Cook's California Champagne Brut White Sparkling Wine containing five 5-oz servings of wine
Pick a Sparkling Wine That Pairs With Every Juice
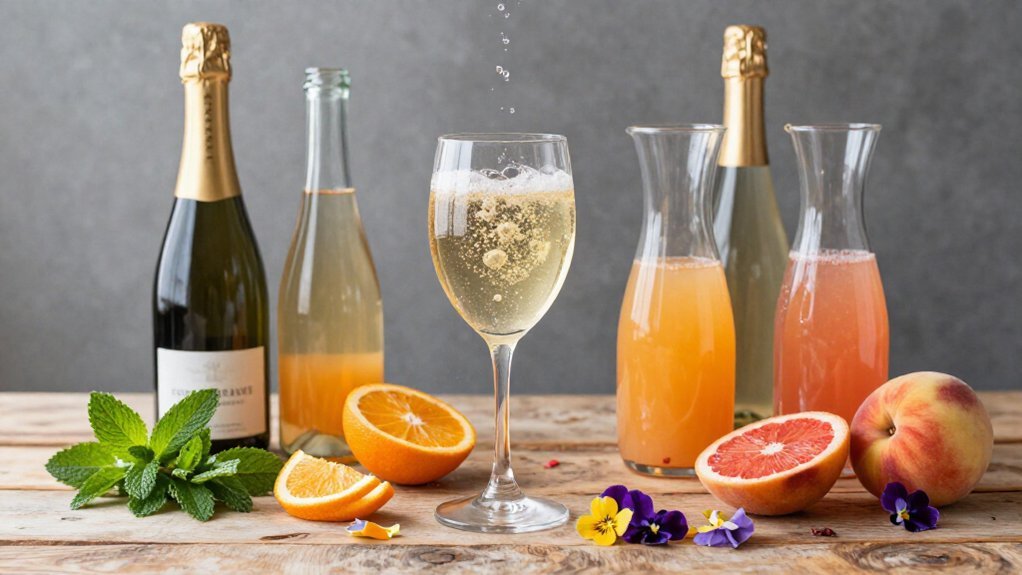
What makes a mimosa truly shine? It’s all about picking a sparkling wine that plays nicely with every juice you’ve got planned.
You’ll want something balanced, not too sweet. Brut (that’s a dry style) works beautifully as your go-to because it won’t clash with different flavors. Dry or semi-dry options from California, Oregon, Washington, Spanish Cava, or Italian Prosecco give you that flexibility guests love.
Here’s the math you’ll need: one 750 ml bottle makes about 6 to 8 mimosas.
When you’re planning juice pairings, think about balance. Lighter juices like orange sing with drier wines, while sweeter juices need something mid-dry so nothing tastes flat or syrupy.
Stock enough for 8 to 12 guests per bottle. That way, when someone wants to try three different juice combinations, you’re ready.
Recommended Products
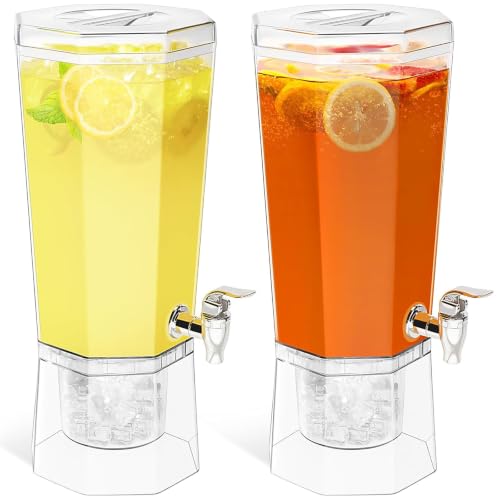
Leak-Proof Design for Stress-Free Hosting: This drink dispenser features an extra-thick silicone gasket and precision-engineered ABS spigot that prevents drips and spills—simply rotate clockwise until snug for a perfect seal every time. The wide weighted base keeps your beverage dispenser stable and prevents tipping even when filled to capacity, so you can focus on entertaining guests instead of worrying about messy cleanups during your party
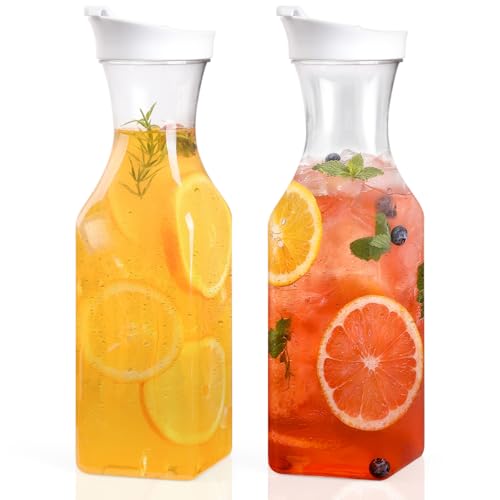
Durable and Convenient Design : The plastic carafe Made from BPA-free plastic, these juice carafe are shatterproof and lightweight whether you need one for chilled water and another for fresh juice or both for hosting It provides reliable performance as everyday drink dispensers

PERFECT SIZE & COMPLETE SET: This set includes 4 clear glass water carafes, each with a 1L capacity and measuring 10.4" H x 3.6" W — perfectly sized to fit refrigerator doors and shelves for easy storage. The set also includes 4 lids, 4 wooden chalkboard labels, and 2 white markers, making it easy to personalize and label every drink for brunches, mimosa bars, parties, or daily gatherings.
Keep Your Bubbly Cold Without Ice
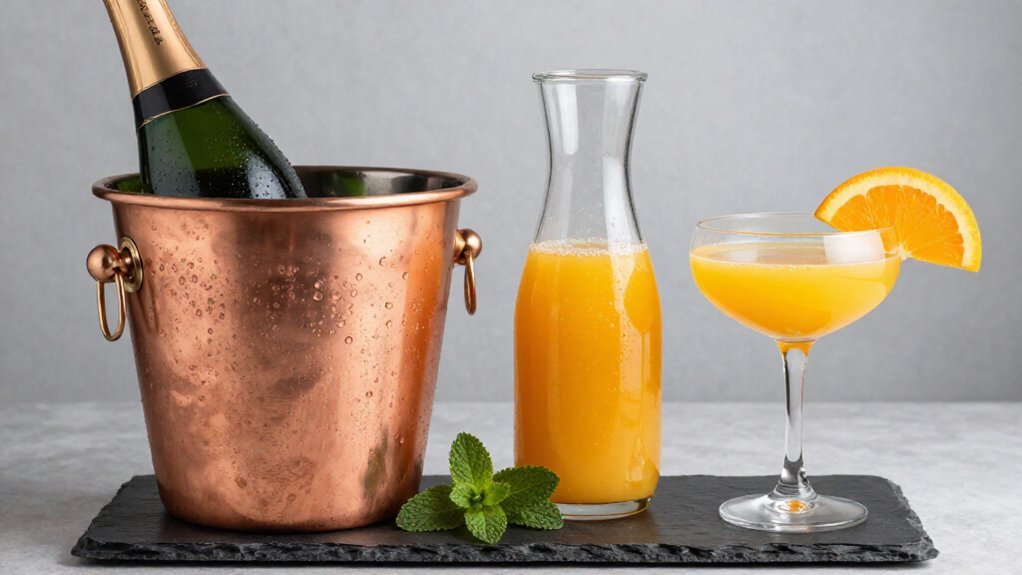
Once you’ve picked your sparkling wine, you’ll want to keep it perfectly chilled without ruining the taste. Ice cubes melt fast and water down your bubbly, so you’ll need a smarter cooling strategy for your mimosa bar.
Ice cubes melt fast and water down your bubbly, so you’ll need a smarter cooling strategy for your mimosa bar.
Here’s how to keep things frosty:
- Grab a large wine bucket or beverage tub that holds multiple bottles at once.
- Pre-chill your sparkling wine and any backup options, like Prosecco or Cava, before guests arrive.
- Replenish bottles throughout the event so you’re never pouring warm drinks.
- Plan for 6–8 bottles if you’ve got 20 guests, since each bottle makes about 6–8 mimosas.
With this setup, you’ll keep the celebration flowing and your guests happy.
Recommended Products

Massive 13L Capacity: Outperforming typical 5L buckets, ours boasts a generous 13L capacity—fitting 7-9 wine/champagne bottles (750ml) or 15 beers (350ml), plus ample ice for longer cooling

Complete Ice Bucket Set for Parties – This set includes 2 upgraded 7.5L acrylic ice buckets and 2 ice scoops, making it easy to chill and serve wine, champagne, beer, cocktails, soda, and other beverages. Made of thickened clear acrylic, each ice bucket for parties offers a sturdy and reliable design for everyday entertaining. The transparent body also lets guests easily view the drinks and ice inside the clear ice bucket.

6.5L Capacity: Compared to others' 5L capacity, our ice bucket has a larger capacity of 6.5L, which can hold 4~5 bottles of 750ml wine/champagne or 7 bottles of 350ml beer, plus more ice for longer cooling; perfect for chilling wine, champagne, beer, cocktails, and other beverages
Arrange Your Bar So Guests Don’t Crowd
You’ll want to think carefully about where you put your mimosa bar so your guests aren’t bumping elbows all morning. Start with smart space planning basics, then use a clear flow direction strategy to keep everyone moving smoothly.
Finally, follow simple station separation tips to keep your bubbly zone away from heavy traffic areas like the buffet line.
Recommended Products

Crisp and refreshing Prosecco with lively bubbles

Import - Italy

Import: Veneto, Italy
Space Planning Basics
Since you want guests to actually enjoy your mimosa bar instead of jostling for position, you’ll need to think carefully about where you put it. Good space planning means your bar won’t become a traffic jam.
Here’s what you’ll need:
- A separate table, bar cart, or countertop with clear walking room on all sides
- Distance from food stations so lines don’t collide
- Ample surface area for juice carafes, glassware, and garnishes within arm’s reach
- A tray to visually separate champagne flutes from juices and toppings
You’ll also want easy self-serve access for guests, plus enough room for servers to slip in and refill supplies. Position everything so labels, fruit, and utensils sit neatly without crowding.
With smart spacing, your mimosa bar flows beautifully from first pour to last call.
Flow Direction Strategy
You’ve got the space mapped out. Now let’s nail your flow direction so your mimosa bar doesn’t turn into a traffic jam.
Start with one entry point for juices and glasses. Keep champagne and garnishes behind or to one side. This creates a natural, linear path guests follow without bumping elbows.
Line up your juice decanters and carafes in a row, then place the sparkling wine station next. Guests pour clockwise: juice first, then bubbles, then garnishes. Simple, steady, no bottlenecks.
Post a small “flow aid” sign showing the juice-to-wine ratio and garnish ideas. It speeds up decisions and keeps the line moving.
Station someone nearby to refill bottles and glassware quietly. They’ll handle restocks without breaking your flow direction.
Your guests get drinks fast, and you avoid the dreaded crowd crush.
Station Separation Tips
Where should your mimosa bar go so guests aren’t bumping shoulders? You’ll want smart station separation to keep the celebration flowing smoothly.
Start by placing your mimosa bar away from your main food service area. This simple move stops traffic jams before they start.
Your station separation strategy can look like this:
- Choose a dedicated cart or table just for your mimosa bar, away from the buffet line
- Set flutes on one side and juice carafes on the other so guests move naturally through the line
- Leave three feet of clear space around all sides for easy approach and refill
- Add visible labels for juice types and quick assembly steps to keep everyone organized
With these steps, you’ll create breathing room and happy guests all morning long.
Choose Juices Beyond Orange for More Flavor
Why stick with plain orange when your mimosa bar could burst with color and flavor? You’ll wow guests by offering four juice varieties beyond the classic: pomegranate, grapefruit, peach nectar, and mango. These options let everyone craft their perfect drink.
Plan for multiple juice carafes in one or two matching bottle styles. This creates a clean, cohesive look that photographs beautifully. Label each decanter clearly so guests know what they’re pouring, especially when colors look similar.
Balance sweetness by pairing each juice with a dry or semi-dry sparkling wine. This keeps drinks crisp, not syrupy.
Prep ahead by chilling strawberry lemonade or strawberry rhubarb juice the night before. You’ll have ready-to-serve options that make your mimosa bar feel carefully planned and genuinely special.
Recommended Products
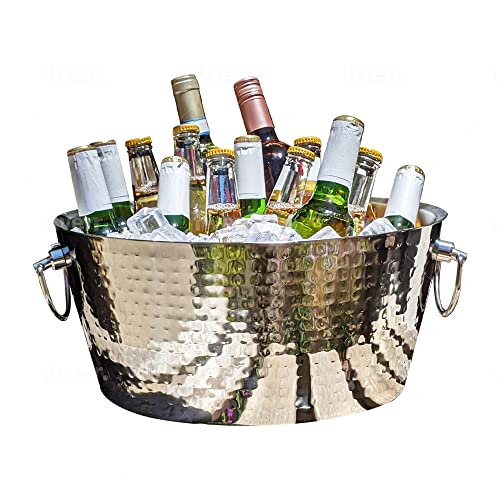
HEAVY DUTY FOR EXTENDED LIFE: Rigorous testing for superior quality and happy customers, ensuring zero sweat and hand-crafted with the finest steel available!

13L Large Capacity: Compared to others' 5L capacity, our ice bucket has a larger capacity of 13L, which can hold 7~9 bottles of 750ml wine/champagne or 15 bottles of 350ml beer, plus more ice for longer cooling; perfect for chilling wine, champagne, beer, cocktails, and other beverages

SPECIFICATIONS: Material: Heavy-duty 0.55mm stainless steel. Color: Silver. Size: 21”L x 14"W x 9”H. Capacity: 25qt / 6 gallon. Holds up to thirty 12oz bottles or 15 bottles of wine plus ice.
Prep Garnishes That Double as Swizzle Sticks
Your juice selection is ready, so let’s think about the finishing touches that’ll make each mimosa feel special. For your mimosa bar, you’ll want garnishes that guests can actually use to stir their drinks.
Here’s how to prep them right:
- Thread berries onto toothpicks or small skewers so guests can swirl and sip
- Set out 3–4 glass dishes with mixed fruit: strawberries, rhubarb, and pineapple chunks
- Add fresh mint, basil, or citrus twists for color and aroma
- Keep swizzle sticks near your juice and champagne setups for a clean look
Pick non-syrupy fruits so sticks don’t get sticky. Plan 2–3 garnish options per station, and stock plenty of skewers so nothing runs out mid-toast. Your guests will love the hands-on touch.
Recommended Products

America’s favorite California champagne, KORBEL Brut is light-tasting and refined, with a balanced, medium-dry finish

One 750 mL bottle of Domaine Ste. Michelle Brut Sparkling Wine

Slightly sweet, simple and crisp white wine
Label Everything so Guests Mix With Confidence
How do guests know which juice they’re pouring when everything looks like a mystery in a glass? You don’t want confused guests sniffing carafes or playing guessing games at your mimosa bar. Labels save the day.
Label every juice clearly. Use tags, stickers, or place cards on each decanter: orange juice, peach nectar, mango, pomegranate. Your guests mix with confidence when they can read what’s inside.
Keep your look unified. Pick one or two glass carafe styles so everything matches. Print labels that fit your wedding theme; free printables work great.
Add pairing signs too. A small card suggesting which juices sparkle best with each wine helps guests build better drinks.
You’re removing guesswork and adding polish. Your mimosa bar looks professional, and your guests feel like pros behind the pour.
Recommended Products

Quality : Made of PET plastic, Great for serving drinks like iced tea, juice, and mimosas.Also,very convenient for daily and party use

JUST THE RIGHT SIZE AND NUMBER: There are 4 carafes in this pack, each one is 10.4" H x 3.6" W, can completely fitted in refrigerator door and interlayer. This is the right size for serving juices on mimosa bar and you can store it in the fridge for cold brewing or storage.

100% Bamboo Lids & Writable Labels: Natural bamboo lid with silicone ring provide a secure seal, free from any plastic, while package comes with a marker for easy labeling on single-use tags. Perfect for clear identification of each drink at gatherings or events