
When Sarah walked into her reception, she gasped at the glowing neon sign pointing guests toward her macaron tower. You can create that same magic without hiring a designer.
These ten sign ideas blend style and function, from budget-friendly chalkboards to sleek acrylic pieces. Your dessert table deserves more than a folded tent card.
Let’s see how simple signage turns sweets into showstoppers.
DIY Dessert Table Signs That Save Your Budget
Why spend a fortune on fancy bakery signs when you’ve got creativity and a printer at home? You can craft DIY dessert table signs that slash costs without sacrificing style.
Chalkboard signs give you instant flexibility. You write custom flavor names and allergen warnings, then wipe and rewrite if plans change. No reprinting, no stress.
Printable templates work wonders too. Grab card stock, string, and markers that match your wedding colors. You’ll create cohesive labels guests actually notice.
Stick to one font, size, and icon style. This keeps traffic moving and makes your table look polished, not patchwork.
Last-minute swap? Printed signs update fast. Chalkboard signs adjust instantly. Either way, you’re controlling costs while wowing guests. Your wallet thanks you, and your dessert table shines.
Recommended Products
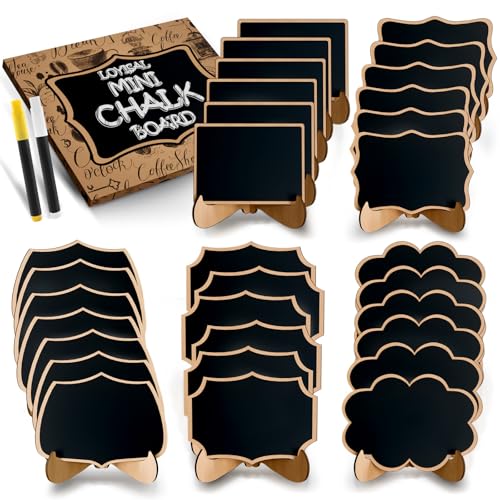
30 packs of mini Chalkboards and 5 different shapes: Perfect for large gatherings. Featuring 5 unique shapes (rectangle, crown, cloud-like, polygonal, etc.), it offers an ample quantity and variety for marking food, allocating tables, and is highly suitable for weddings, parties, and special events. You can use it as a wall-mounted small Blcakboard sign in the office, or for food identification at buffets.
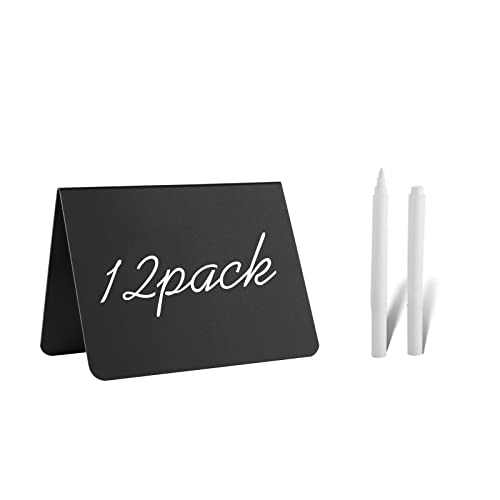

Value Pack:The packaging includes 12 blackboard labels that can be hung or supported+2 white chalk marker ,measuring approximately 3.3×2.4 inches . easily write on the smooth surface and wipe clean with a damp cloth, leaving no smudges or residue for repeated use.
Chalkboard and Wooden Signs for Rustic Weddings
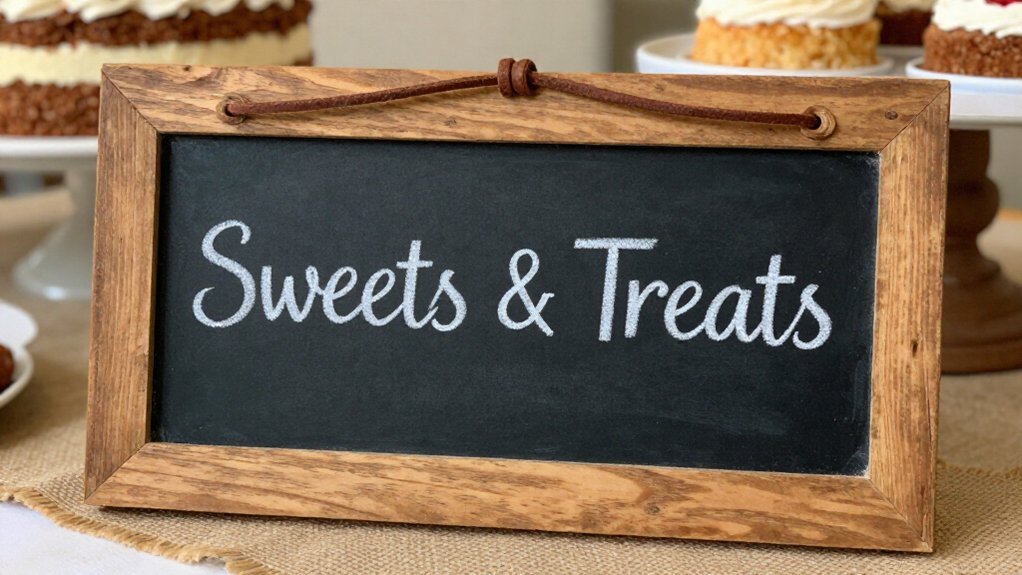
You’ve already seen how DIY signs keep your budget happy. Now let’s explore how chalkboard signs and wooden touches create that warm, rustic vibe your guests will love.
Build Your Rustic Foundation
Pair chalkboard signs with wood-toned elements like slats, crates, or backdrops. This combo adds texture and depth to your dessert station without feeling cluttered.
Get the Details Right
Write in handwritten or calligraphy fonts that match your wedding colors. Attach small chalkboard tags to each dessert, noting flavors and allergens so guests know exactly what they’re grabbing.
Time It Perfectly
Place a “Dessert Table Opens At” sign at the entry. No confusion, no crowding, just happy guests ready for sweets.
You’re creating a cohesive, welcoming space that feels personal and polished.
Recommended Products

【Versatile Decor for Any Event】Our Acrylic Sign is the perfect addition to various occasions, including weddings, engagements, bridal showers, and baby showers, enhancing the ambiance of ceremonies and parties with its elegant design.

Set of 6: The set includes 6 pre-printed signs for key wedding stations: Open Bar, Guest Book, Dessert Bar, Gifts & Cards, Party Favors, and Food. They clearly guide guests to different areas of your event

【Versatile Decor for Any Event】Our Acrylic Sign is the perfect addition to various occasions, including weddings, engagements, bridal showers, and baby showers, enhancing the ambiance of ceremonies and parties with its elegant design.
Acrylic and Mirrored Signs for Modern Glam Events
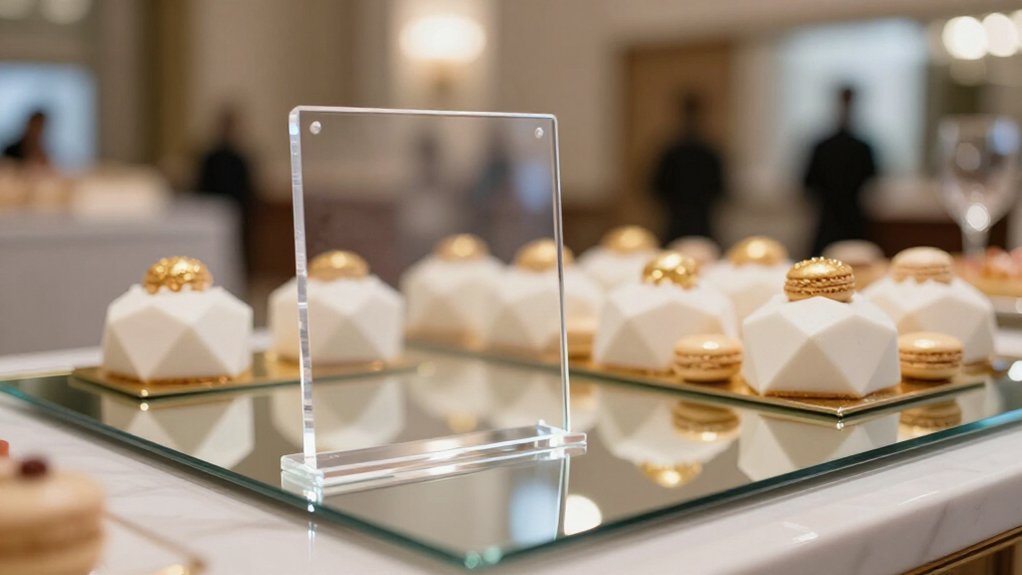
Want to give your dessert table that sleek, high-end feel? Acrylic signs and mirrored displays bring instant modern glam to your celebration. You’ll love how they catch light and make your sweets shine.
Acrylic signs offer crystal-clear durability. Choose bold, high-contrast text with large lettering so guests can read them easily from across the room. Keep wording simple, like “Cake,” “Macarons,” or “Take One.”
Mirrored signs amplify your color palette beautifully. They coordinate flawlessly with gold, rose gold, or silver accents throughout your décor.
Layer your acrylic signs at varying heights using coordinating frames or stands. This creates depth and visual interest on your table.
Customize with etched or printed text, color-ink backings, or theme-aligned icons. These direct guests to different dessert sections while keeping everything cohesive and stylish.
Recommended Products

Package Includes: Receive one elegant white arch acrylic wedding sign and a matching acrylic base, both with smooth edges. Sign is 6x8 inches, bases are 6x2.16 inches—perfect as mr and mrs sign for wedding table or bridal shower signs. Easy to assemble and display instantly.

Package Includes: Receive one elegant white arch acrylic wedding sign and a matching acrylic base, both with smooth edges. Sign is 6x8 inches (1/8" thick), bases are 6x2.16 inches—perfect wedding table sign or bridal shower signs. Easy to assemble and display instantly.

【STURDY AND RELIABLE】The cake stands are made from with exquisite craftsmanship for welding and painting processes, with crafted in a food safe silver baking painted, not easy to fade or rust. A silver color makes them look luxury and vintage, giving it a premium finish.
Neon and Light-Up Signs for Evening Receptions
When the sun goes down, your dessert table doesn’t have to fade into the background. You can light it up with neon signs that glow and grab attention.
Neon signs create a stunning focal point for evening receptions. Your guests will love snapping photos by the bright, colorful display. You can customize these signs to match your wedding colors and theme perfectly.
LED-enabled signs help you highlight flavors and allergens clearly, even in dim venues. No one will squint to read what’s in your treats.
You’ll appreciate the flexible placement options too. Battery-powered or USB-powered signs don’t need nearby outlets, so you can position them exactly where you want.
Try dimming the surrounding lights to let your neon signage glow. This keeps the mood romantic while making your dessert table impossible to miss.
Recommended Products

Includes: One elegant desserts sign. Easel not included.

Wooden Risers Display Stands:Get 10 versatile wooden risers in graduated 10 sizes for layered dessert presentations(4",4.7",5.5",6.3",7.1",7.9",8.7",9.4",10.2",11"). Includes 10 mini brana new chalkboard signs, 10pcs replacement stickers and 2 pens for custom labels

Catering Supplies Buffet Display: You will get 6 different sizes of wood risers display stands and 6 wooden signs, wooden cupcake stand sizes are 12"x12"x6", 11"x11"x4", 10"x10"x2", 9"x9"x6", 8"x8"x4", 6"x6"x2". We increase the size of the product to better fit more food
Hand-Lettered and Calligraphy Signs for Personal Touch
You can’t go wrong with hand-lettered chalkboard displays and calligraphy place cards when you want your dessert table to feel truly yours. Grab some chalk markers or brush pens and write out your sweets’ names in flowing, loopy script, just like fancy handwriting called calligraphy.
Stick with the same letter style on every sign, and you’ll create a pulled-together look that photographs beautifully.
Recommended Products

【Elegant Display】You invited your guests over and prepared your best treats, make it extra special and make that presentation of your delicacies complete with this round cake display stand. The round cupcake display stand can elegantly show colorful macarons, small cakes, cupcakes, pastries, cookies, snacks, desserts, finger foods, party appetizers, fruit slices or other tasty treats. The nice thing is you can fill up the bottom and top with flowers so you don’t have to make many macarons

Sufficient Quantity: you will get 1 pcs of macaron stands display in clear appearance, they are designed with 6 tiered stands, which allows you to put many items on them, bringing you more convenience and joy

Versatile Dessert Display: Great for showcasing macarons, pastries, cookies, cupcakes, and other desserts; the clear design allows for an unobstructed view of your colorful confections, enhancing the overall aesthetic of your dessert table
Hand-Lettered Chalkboard Displays
How can you make your dessert table feel truly yours? Hand-lettered chalkboard displays add that personal spark you’re looking for.
These signs let you feature beautiful calligraphy that highlights flavor names, allergen info, and warm welcomes for your guests. You can also signal when the dessert table opens, keeping everyone in the loop.
Chalkboard displays fit any color palette. Use white or colored chalk inks to match your theme. For cohesive branding, mimic your wedding’s font style across all signs.
Here’s how to nail the look:
- Choose durable chalk markers for crisp, readable lettering
- Seal with fixative so nothing smudges during the celebration
- Place at eye level using stands or easels
- Add simple icons or borders to help guests spot categories quickly
Your dessert spread will look polished and personal.
Calligraphy Place Cards
Hand-lettered calligraphy signs bring that same personal charm to your dessert table, but with an extra layer of grace. You can use calligraphy place cards to guide guests toward specific treat stations while keeping your color and font styling cohesive.
Here are three popular calligraphy styles to consider:
- Classic copperplate for lasting romance
- Modern brush script for relaxed style
- Serif-script mixes for simple weddings
You’ll find materials ranging from kraft or vellum cards to frosted acrylic or glass. Add coordinating ink colors and foil accents for extra shine.
Position your signage at eye level on tiered stands or small easels near each dessert station. This ensures guests can read your beautiful calligraphy from across the room.
Timing Signs That Build Guest Anticipation
You’ll want to let guests know exactly when they can dig into those sweets, so an “Opens At” sign works perfectly for building buzz. Try pairing your timing notice with a cute countdown display, like a small chalkboard you update hourly or a digital frame showing minutes until sugar paradise.
Place it where guests will spot it naturally, and you’ll have everyone animatedly watching the clock without hovering around the table too early.
Recommended Products

Complete Package Contents: There are 6 pcs wave-shaped boards and 6 pcs rectangle-shape boards, 24 pieces wooden stands, 3 pcs wave-shaped labels and 3 pcs rectangle-shape labels and 1 liquid chalk markers in the package
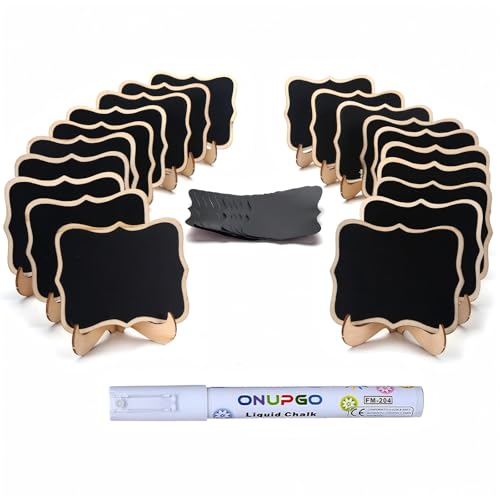
💖 DECORATIVE 20 PIECE SET: Packge include 20pcs Wavy edge mini chalkboard signs with easel stand + 1 liquid chalk marker + 10pcs replacement stickers. Add a chic touch to table decorations and make each table arrangement stand out.
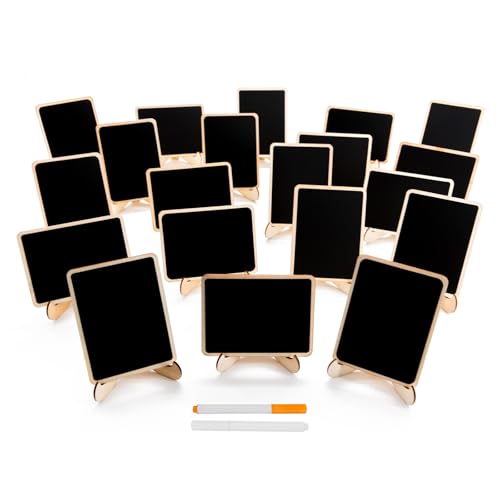
Sturdy material: Our mini chalkboards are made of en-friendly and safety wood, package includes 20 mini chalkboards, the head of the chalkboard is 4" x 3", package come individually wrapped in plastic which prevented. scratching and damage
Opens At Signage
Wondering when to let your guests enjoy those sweet treats? An opens at sign helps you pace your reception and prevents crowding at other stations.
Position your sign near the dessert area entrance at eye level, so everyone spots it easily. You will want to match your wedding’s look, too. Consider these design tips:
- Use colors that match your palette
- Try a chalkboard style for rustic charm
- Add small florals or frames for a nice touch
Keep your wording clear and brief, like “Dessert Table Opens at 9:00 PM.” This sets expectations without confusion. You can also update the text for different moments, such as “Dessert Bar Opens After Cake Cutting,” to guide guest flow all evening long.
Countdown Display Ideas
Try a multi-card stack showing incremental times: “7:00 PM,” then “7:15 PM,” guiding guests closer as the evening unfolds. Pair your countdown signs with soft backlighting or fairy lights. The glow draws eyes and creates nice photo moments.
Place these signs at three key spots: the ceremony exit, cocktail area, and dessert entrance. You’ll catch guests wherever they wander.
Want extra engagement? Combine your countdown with flavor teasers: “Countdown to Indulgence: 3 Flavors, 7 Minutes to Dessert.” They’ll stay excited and informed.
Printable Templates You Can Customize at Home
If you’re looking to add a personal touch to your wedding without blowing your budget, printable dessert table signs are a fantastic option you can tackle right from your kitchen table. Printable templates let you match any theme, from rustic chalkboard to marble-and-gold or soft pastel lavender. You’ll typically find signs for “Dessert Table Opens At,” flavor labels, allergen warnings, and directional pointers to guide your guests.
Here’s why you’ll love this approach:
- You edit text fields and colors yourself, then download print-ready files.
- You can print at home or send files to a local shop for crisp, professional results.
- You’ll save money and ensure every sign matches perfectly across your cakes, donuts, and candy displays.
You’ll cut setup time and skip designer fees while keeping your dessert station polished and put-together.
Recommended Products

Package Includes: You will receive one frosted arch acrylic dessert bar sign and acrylic Base, smooth edges,1/8 inch thick.
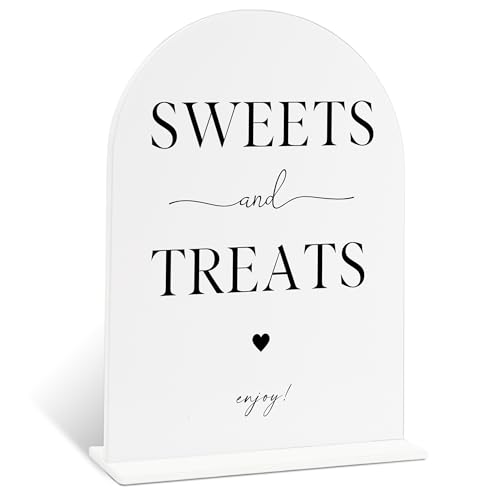
【Wedding Sign】You will recieve 1 acrylic wedding sign with a matching base brackets. The white modern arched sign is adorned with affectionate words to warmly welcome your guests which can add an elegant touch to the wedding.
Mini Sign Ideas for Individual Dessert Labels
Since your guests will likely be juggling small plates and smartphones, mini dessert labels do the heavy lifting of pointing out exactly what’s what. Your Dessert Table Signage should name each treat clearly, think “Salted Caramel Macaron” or “Lemon Tartlet,” so nobody guesses wrong.
Mini dessert labels do the heavy lifting so guests juggling plates and phones never have to guess what’s what.
Keep wording short and sweet. Match your font size across every label for a polished, cohesive look. You’ll want colors that tie into your wedding palette, like blush and gold or classic black and white, so everything feels connected.
Don’t skip the safety details. Add allergen notes, such as “contains milk, eggs,” right on each sign. This protects your guests and keeps the celebration worry-free.
Tuck these mini signs on every tier or tray at eye level, ensuring desserts don’t block the view. Clear labeling means happy, informed guests who’ll actually enjoy that second helping.
Sizing and Placement Tips That Maximize Visibility
You’ll want to make sure your guests can actually read your beautiful signs without squinting, right? Let’s talk about sign height and eye level, table positioning and flow, plus how lighting for maximum impact can make your dessert table glow.
These three elements work together so your sweet display looks great and functions well.
Recommended Products

Wooden Risers Display Stands:Get 8 versatile wooden risers in graduated 8 sizes (4",5",6",7",8",9",10",11")for layered dessert presentations. Includes 8 mini brana new chalkboard signs, 8pcs replacement stickers and 2 pens for custom labels

INCLUDES: 1 printed party sign. Size 8.5-inch x 11-inch. Properties: Matte finish. Single-sided, digitally printed on high quality paper, with vibrant colors. Actual product color may vary slightly due to differences in monitor settings. DOES NOT INCLUDE FRAME.

Catering Supplies Buffet Display: You will get 6 different sizes of wood risers display stands and 6 wooden signs, wooden cupcake stand sizes are 12"x12"x6", 10.2"x10.2"x4.3", 8.7"x8.7"x3.9", 7.1"x7.1"x3.5". We increase the size of the dessert table display set to better fit more food
Sign Height and Eye Level
Where exactly should you position your dessert table signs so guests actually read them? You want to hit that sweet spot of eye level, about 60–66 inches from the floor. Sign height matters here, so raise taller pieces on stands to peek above your gorgeous floral arrangements and cake stands.
Layer your display heights for maximum impact:
- Use 24–32 inch freestanding signs up close
- Add 48–60 inch statements on podiums or easels
- Mix both heights to create visual flow that guides the eye
Place your signs where guests naturally pause, like at the table’s entrance or above showstoppers such as a macaron tower.
Keep lettering 4–6 inches tall for easy reading up close, and 8–12 inches wide to label clearly without cluttering your sweets. You’ll blend beauty and function perfectly.
Table Positioning and Flow
Why let your dessert table fade into the background when it could steal the show? Smart dessert table placement makes your spread into a social hub.
Position your table apart from the main cake. This creates two focal points and encourages mingling. You’ll double the photo opportunities too.
Place your display within clear sight of reception seating. Keep it near the dance floor or cake cutting area. Guests stay engaged when treats sit where the action happens.
Build visual flow using 2-tier and 3-tier stands at different heights. This guides eyes along the display. Match your linens and stands to a cohesive palette, such as marble, gold, and white.
Consider a three-table setup or staggered layout. You’ll prevent crowding and give guests clear access to every treat. Add clear labels with flavors and allergens for quick, confident choices.
Lighting for Maximum Impact
How can you make sure every guest spots your dessert signs without squinting or guessing? You start with smart signage height and lighting that works together.
Position your main signs at eye level, about 60–72 inches from the floor. That’s where adults naturally look. Then layer in three levels of signage height: low, mid, and high, using risers or stands. This creates depth and keeps every sign readable from any angle.
For lighting that actually helps, follow these steps:
- Install soft, warm white LED spots (2700–3000K) 12–18 inches above or beside each sign to avoid glare.
- Use high contrast colors, like black text on ivory, so words pop even in dim venues.
- Mount signs on sturdy backings to block shadows and keep them photogenic.
Your guests will thank you for signs they can actually read.
Sign Wording Examples for Every Wedding Style
What kind of vibe are you going for? A sleek “Dessert Opens At” dessert sign keeps things modern and clear, helping guests know exactly when to line up.
A sleek “Dessert Opens At” sign keeps things modern and clear, so guests know exactly when to line up.
For a romantic look, grab chalkboard dessert signs and pair them with soft lavender décor. You’ll create a dreamy “Wall and Podium Dessert Display” that feels pulled together.
Always add short allergen labels on every card, especially by tiny treats like macarons. Guests with food restrictions will thank you.
Running a luxe marble-and-gold bar? Match your flavor cards to your wedding colors so visitors easily spot their favorites.
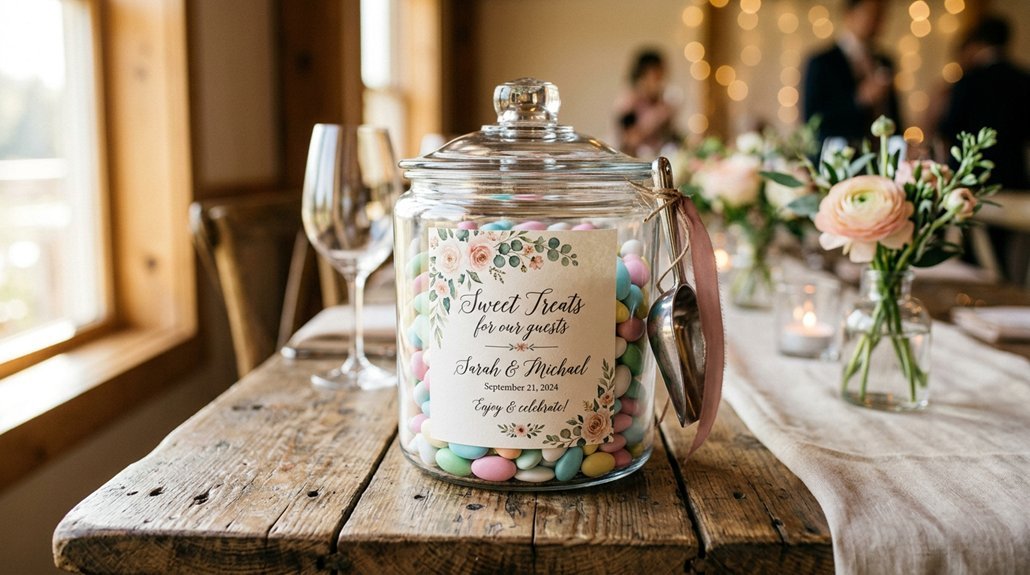
Finally, set a “Candy Bar” sign near see-through jars and scoops. This carves out a fun, nostalgic corner separate from your main sweets table.
Recommended Products

【Material】The Macaron tower stand is made of transparent plastic , eco-friendly, Non-toxic, safe to use.

🍩🍩HIGH-QUALITY MATERIALS:Macaron tower is made of high quality PVC plastic, transparent color, light weight but strong structure, minimalist design, Beautifully displays cupcakes or other dessert.